Bush Bagless Corded Upright Vacuum Cleaner
318/5458

Product details
- Brand: Bush
- Catalogue number: 318/5458
- Manufacturer's number: UPRIGHT
Argos Technical Support
 UK:
UK:
 Eire:
Eire:
Argos Troubleshooter
Resolve problems quickly with this easy-to-use tool.
Email me this page
Enter your email address to have this page emailed to you *
FAQs
If dust is escaping, try the following:
- Check the dust container is not full and is correctly attached to the vacuum cleaner.
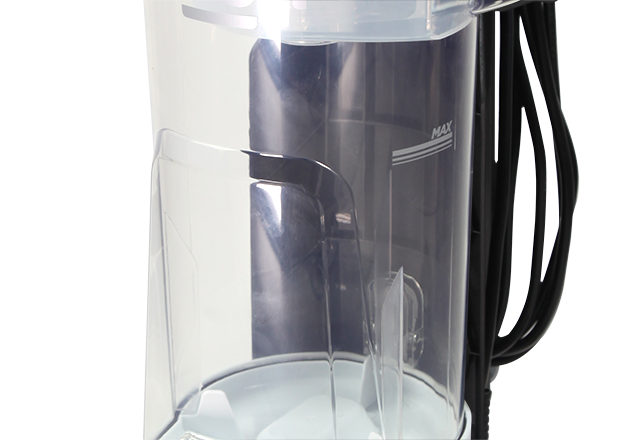
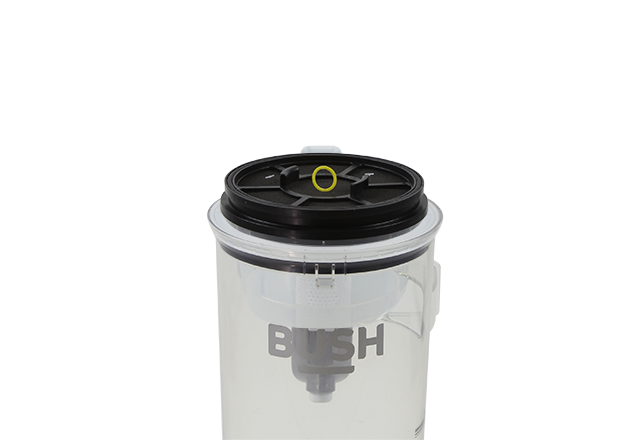
- Check the dust container filter is not blocked or needs cleaning.
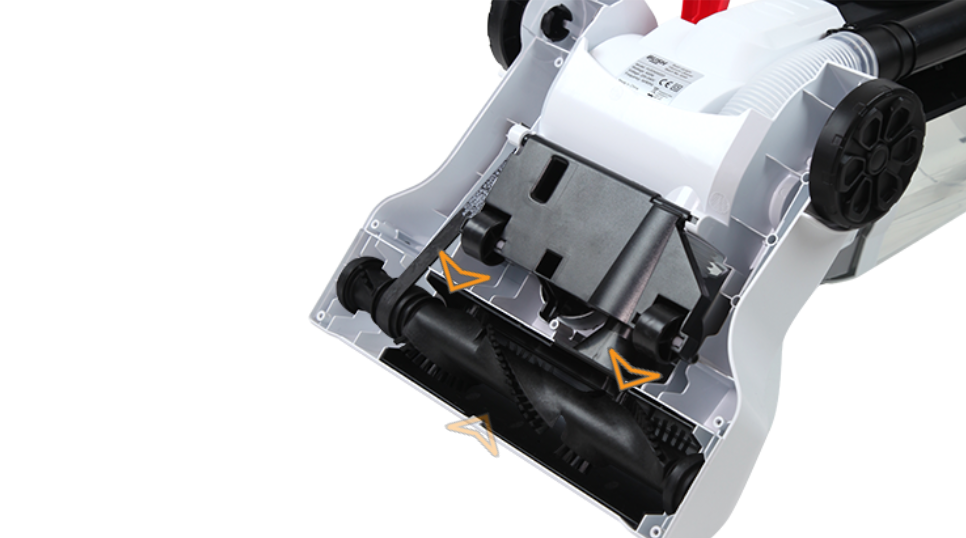
- Check that the brush roll bar is not blocked or needs cleaning.
- Check that the main hose is not blocked.
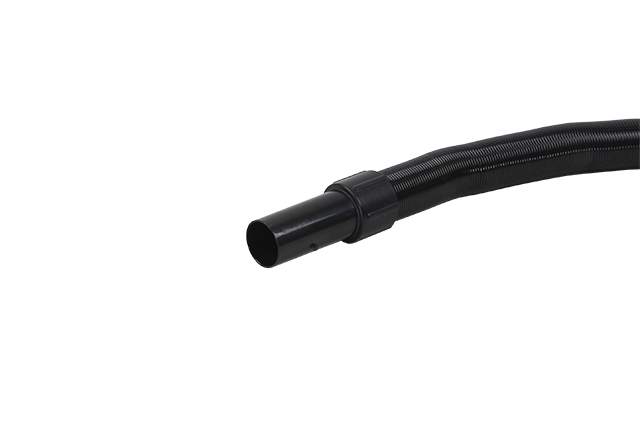
If the issue is still persisting, contact the relevant support team using the details on this page.
Long pile: Use this setting for high pile, wool carpets and rugs. This can also be used with accessories.
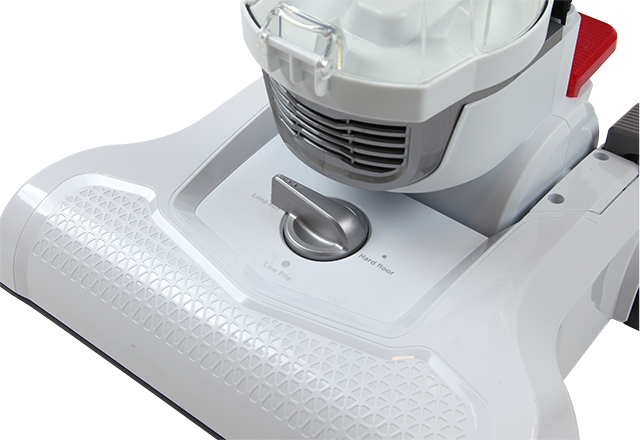
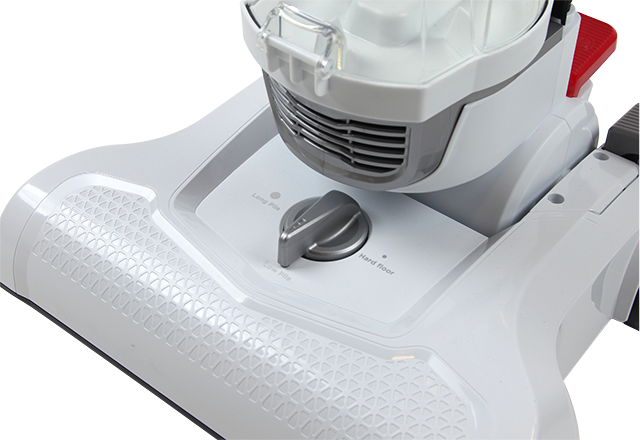
Low pile: Use this setting for short to medium pile carpets.
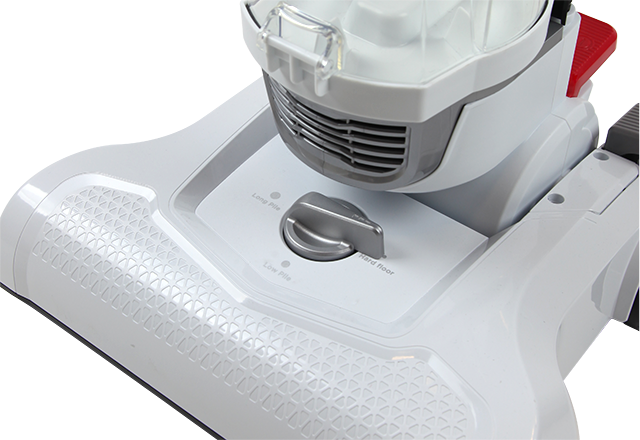
Hard floor: Use this setting for hardwood or uncarpeted flooring.
To clean the dust container filter, use the following steps:
- Unplug the vacuum cleaner from the mains.
- Push the dust container clamp, then lift the dust container away from the vacuum cleaner.
- Pull the dust container latch up, then lift the top dust container lid.
- Remove the dust container filter holder.
- Lift out the filter screen.
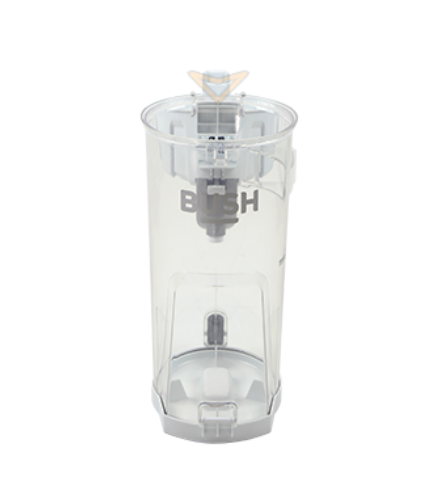
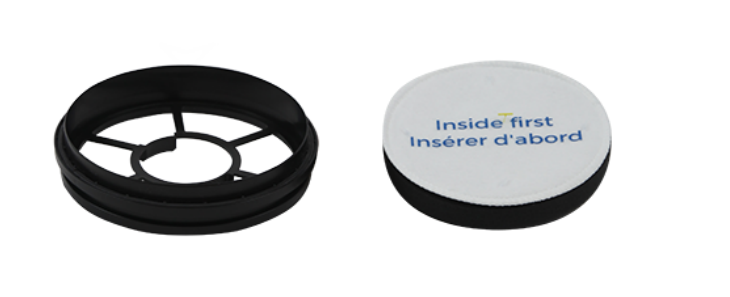
- Remove the dust container filter from the dust container filter holder.
- Rotate the top of the filter screen anti-clockwise to unlock, then pull it away from the bottom of the filter screen.
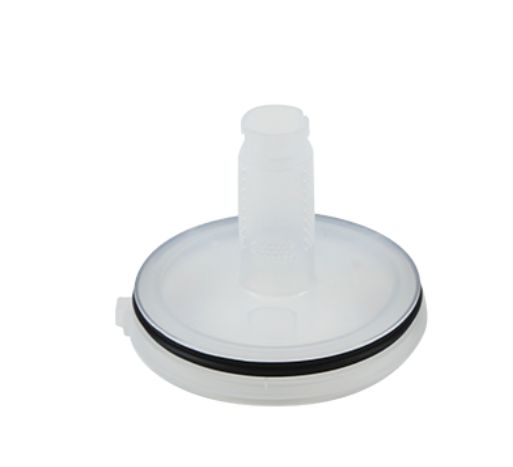
- Shake off any dust, then rinse the dust container filter and filter screen in warm water.
- Wait for the filters to dry thoroughly before refitting.
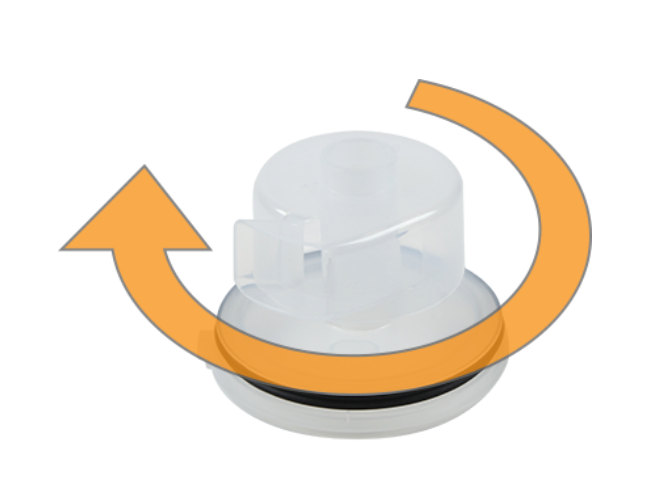
- Reassemble the filter screen, turning the top of the filter clockwise until it locks into place.
- Place the dust container filter back into the dust container filter holder.
- Push the filter screen into position.
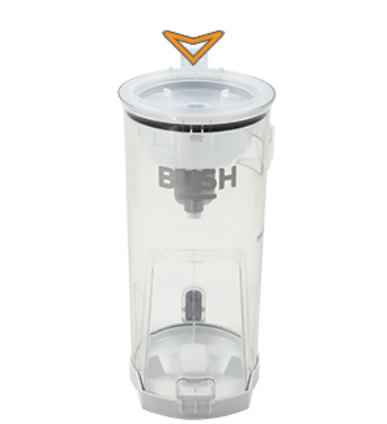
- Replace the dust container filter holder.
- Replace, then close the top dust container lid until a click is heard.
- Replace the dust container until it clicks into place.
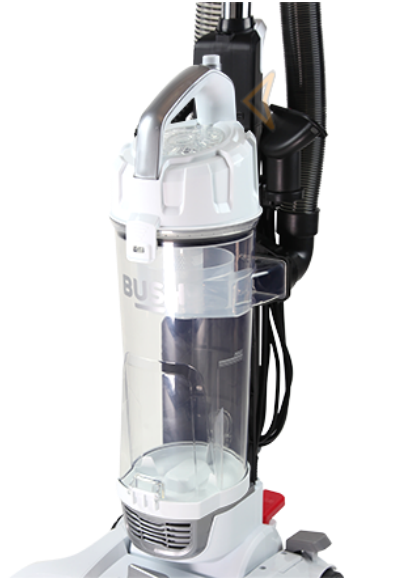
You can also view the digital guide for a visual demonstration here.
When the dust container reaches the MAX line, it requires emptying. To empty this, try the following:
- Unplug the vacuum cleaner from the mains.
- Push the dust container clamp, then lift the dust container away from the vacuum cleaner.
- Position the dust container over a bin, then press the dust release button.
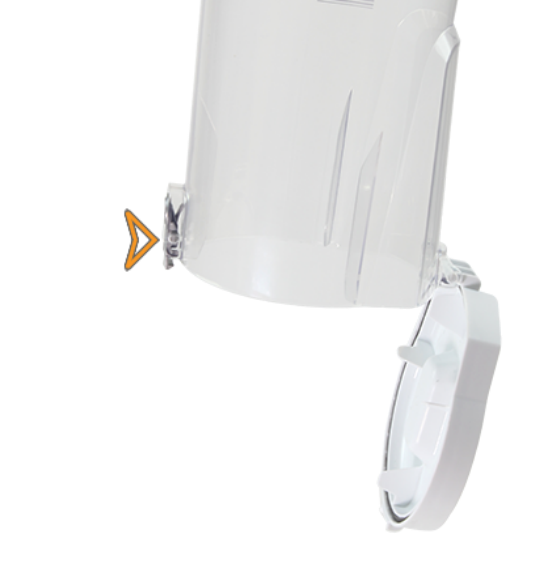
- Empty the contents, gently tap the dust container against the side of the bin to remove any stubborn dust.
- Close the dust container lid until it clicks into place.
- Replace the dust container until it clicks into place.
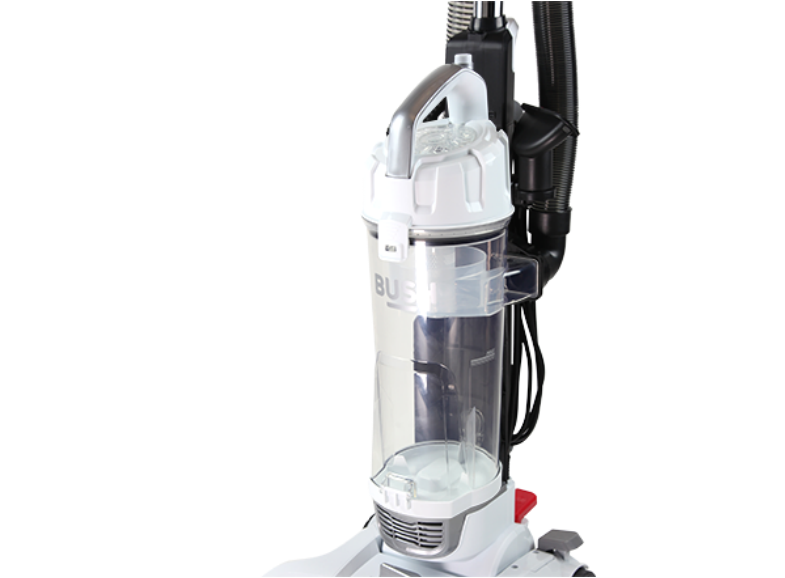
You can also view the digital guide for a visual demonstration here.
To clean the brush roll bar, use the following steps:
- Unplug the vacuum cleaner from the mains.
- Push the cleaner release button from the upright storage position to the operating position.
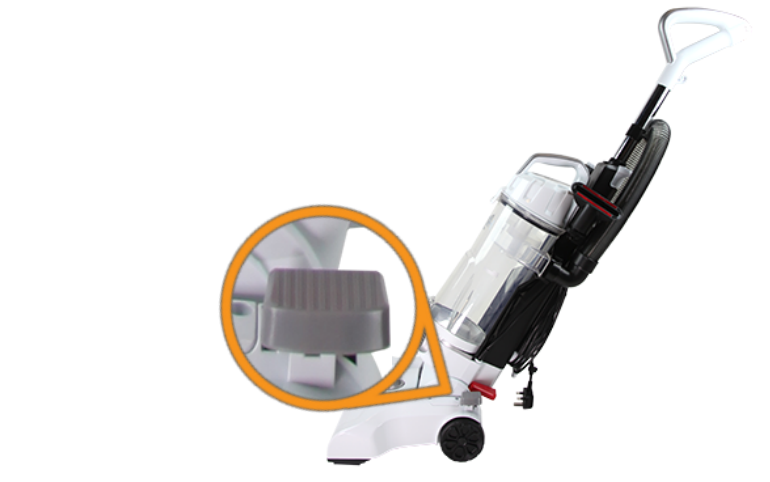
- Turn the vacuum cleaner face down on the floor.
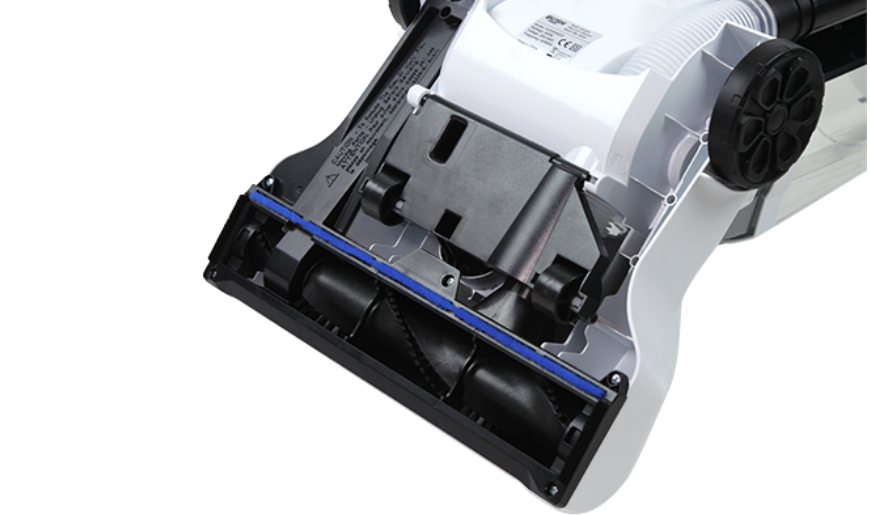
- Use a screwdriver to remove the 6 screws from the brush cover located on the floor head.
- Remove the brush cover.
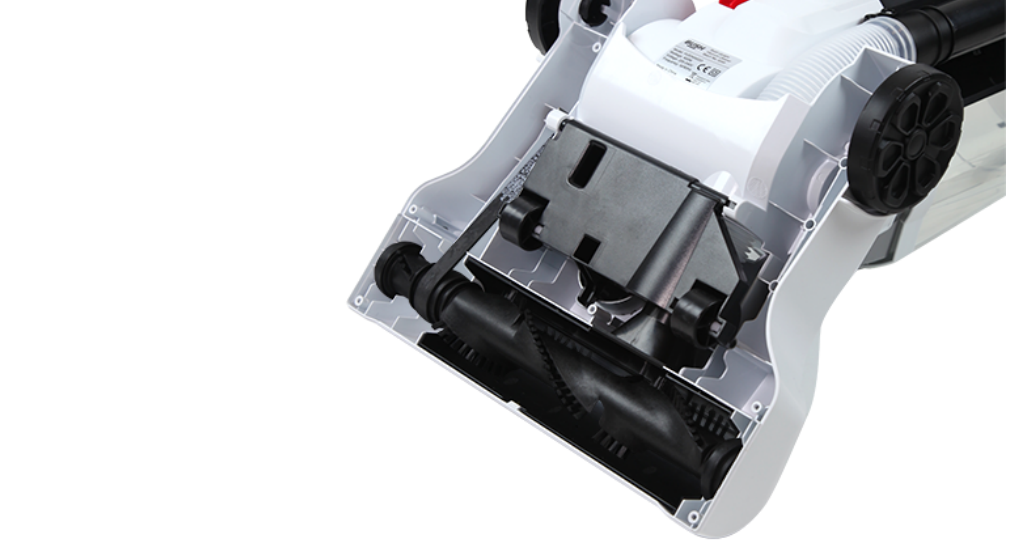
- Check for any blockages or debris on the brush roll bar, removing any trapped hair, string or thread using a pair of scissors.
- Replace the brush cover onto the floor head, and refit the screws.
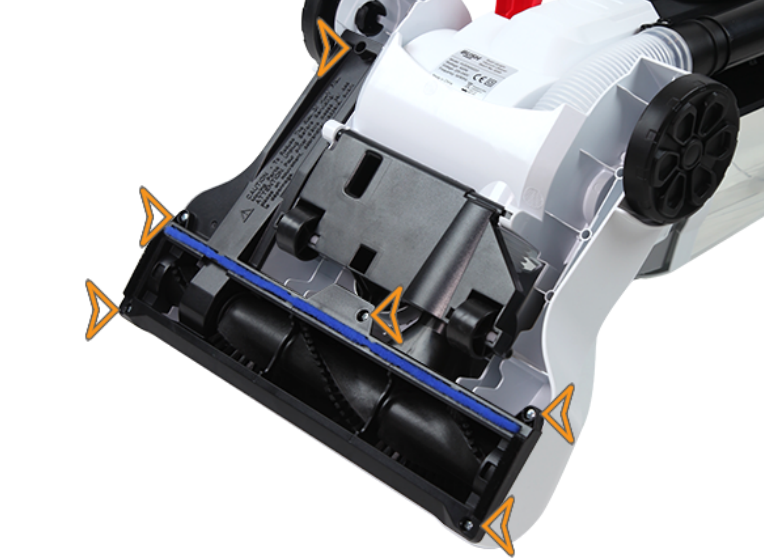
You can also view the digital guide for a visual demonstration here.
To replace the brush roll bar belt, use the following steps:
- Unplug the vacuum cleaner from the mains.
- Push the cleaner release button from the upright storage position to the operating position.
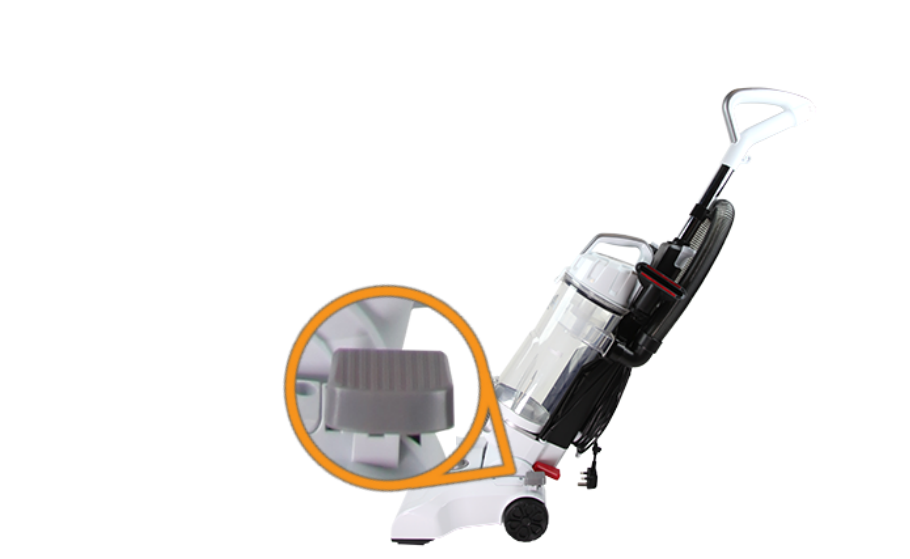
- Turn the vacuum cleaner face down on the floor.
- Use a screwdriver to remove the 6 screws on the brush cover located on the floor head.
- Remove the brush cover.
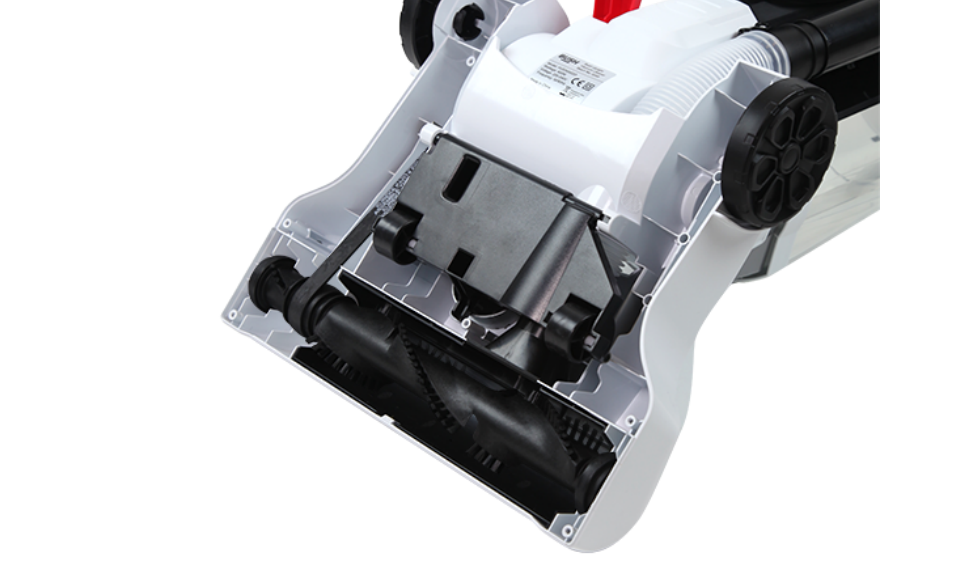
- Rotate the left end of the brush roll bar, then lift it out.
- Lift out the right end of the brush roll bar, remove the old belt from the brush roll shaft, then remove the brush roll bar.
- Remove the old belt from the motor shaft.
- Loop the new belt around the motor shaft.
- Loop the new belt around the left end of the brush roll bar shaft. Push the right end of the brush roll bar into position on the right side of the floor head.
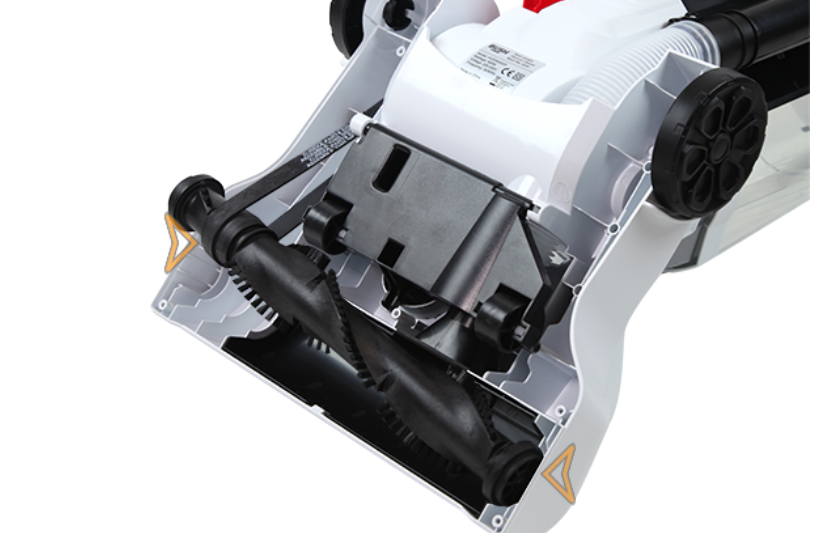
- Align the left end of the brush roll bar with the slot on the left side of the floor head, then push into position.
- Replace the brush cover onto the floor head, using the 6 screws and a screwdriver.
You can also view the digital guide for a visual demonstration here.
To check for blockages, try the following:
- Unplug the vacuum cleaner from the mains.
- Push the cleaner release button from the upright storage position to the operating position.
- Turn the vacuum cleaner face down on the floor.
- Check for any blockage or debris on the brush roll bar, removing any trapped hair, string or thread using a pair of scissors.
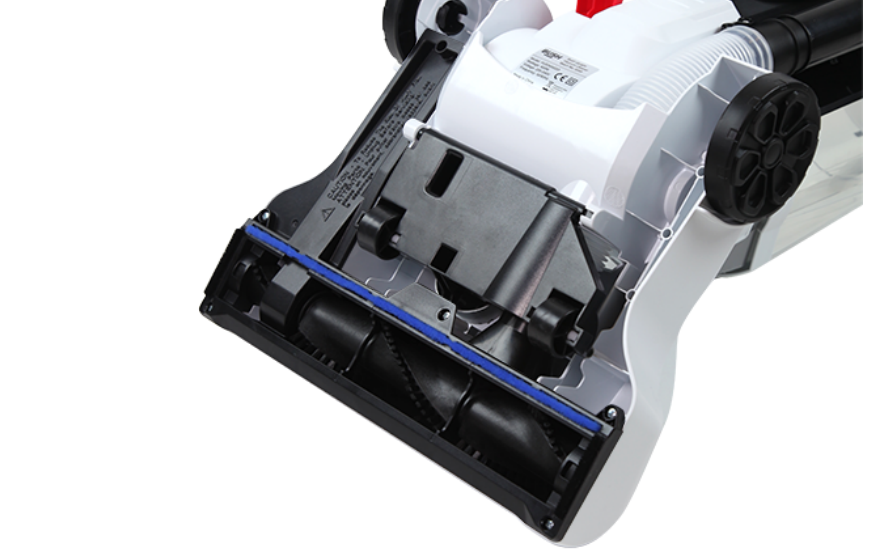
- Remove the dust container filter and check for and remove any blockage.
- Pull the main hose from the hose inlet.
- Twist the main hose located on the back of the dust container anti-clockwise until it unlocks, then remove.
- Check for any blockage and remove using a pair of long nose pliers or a long thin piece of wire.
- Insert the bent end of the main hose into the opening on the back of the dust container.
- Twist the main hose clockwise to lock into position.
- Loop the main hose over the hose retainer.
- Push the main hose onto the hose inlet.
You can also view the digital guide for a visual demonstration here.
If your vacuum is experiencing a loss of suction, please try the following:
- Check for any debris or blockages in the tubing and main body.
- Ensure the filter has been cleaned and left to dry as per the maintenance and care instructions.
- Check to see if the issue is happening on all attachments. If it is happening with a particular attachment then check there is no damage to this attachment and it is fitted correctly.
If you are still experiencing issues, please get in touch with the support team using the contact details on this page.
If the vacuum is not turning on, please try the following:
- Try an alternative plug socket.
- Change the fuse in the plug.
If there is light and sound but the unit isn’t turning on fully, please ensure the vacuum has been cleaned correctly; check for blockages and clean the filter.
If you are still experiencing issues, please get in touch with the support team using the contact details on this page.
If the vacuum is hard to push, please check try the following:
- Check for any blockages or debris in the floorhead.
- Change the pile adjustment setting for the floorhead if available on the model (please refer to the user manual for the location).
- Check if the issue occurs on different floor types, as thick carpets will be harder to push on.
If you are still experiencing issues, please get in touch with the support team using the contact details on this page.
Check that the dust container is fully clipped into place. Follow any symbols on the dust container and twist/clip on securely.
It is normal for the vacuum to make noise during operation. If the vacuum is making unusual or excessive noises, check the following:
- Check the filter is secure in the dust container as it may be rattling.
- Clean the filter thoroughly to remove any dirt and debris.
- Securely fasten the dust container to prevent parts from moving.
- Check the floor head for any dirt or damage which may be causing the sound.
If the brush roll isn't spinning, check the following:
- Turn off and unplug the vacuum.
- Remove any hair or debris that is tangled around the brush roll.
- Check that the belt on the brush roll is securely attached.
Please note, this only applies to models that have a spinning brush roll.
Questions & answers
How-to videos
-
How to Setup
-
How to Use
-
How to Clean Filters
-
Changing Brush Roller and Belt
-
How to change your plugs fuse
-
How to register your product
-
How to solve suction issues on your vacuum
Interactive Help
-
Click here to view an interactive step-by-step guide for your product.
-
Argos Troubleshooter
Resolve problems quickly with this easy-to-use tool.
Returns policy
If you need advice or support for your product, please in the first instance contact the support provider using the number on this support page.
If you still need to return your product then please visit our most up to date returns policy here.
