As the weather gets colder and the washing starts piling up, your tumble dryer can quickly become one of the most used appliances in your home. With fewer opportunities to dry clothes outside, keeping your dryer clean and working as expected is more important than ever.
One area that can easily be overlooked is the heat exchanger. A build-up of fluff and dust can affect drying performance, potentially leaving clothes damp for longer and making laundry days more frustrating. A little regular maintenance can help keep your tumble dryer in good condition throughout autumn and winter.
What Does the Heat Exchanger Do?
The heat exchanger is an important part of many condenser and heat pump tumble dryers. It helps remove moisture from the air during the drying process, allowing water to be collected or drained away.
Over time, fluff and dust can collect around the heat exchanger. If it becomes clogged, your dryer may take longer to dry clothes or struggle to work as expected.
Cleaning it before the colder weather arrives is a useful way to prepare for the extra laundry ahead.
How to Clean Your Tumble Dryer Heat Exchanger
Before you start, switch off your tumble dryer at the mains and allow it to cool completely. Always check your appliance's instruction manual first, as the location of the heat exchanger and the cleaning method can vary between models.
Step 1: Locate the access panel
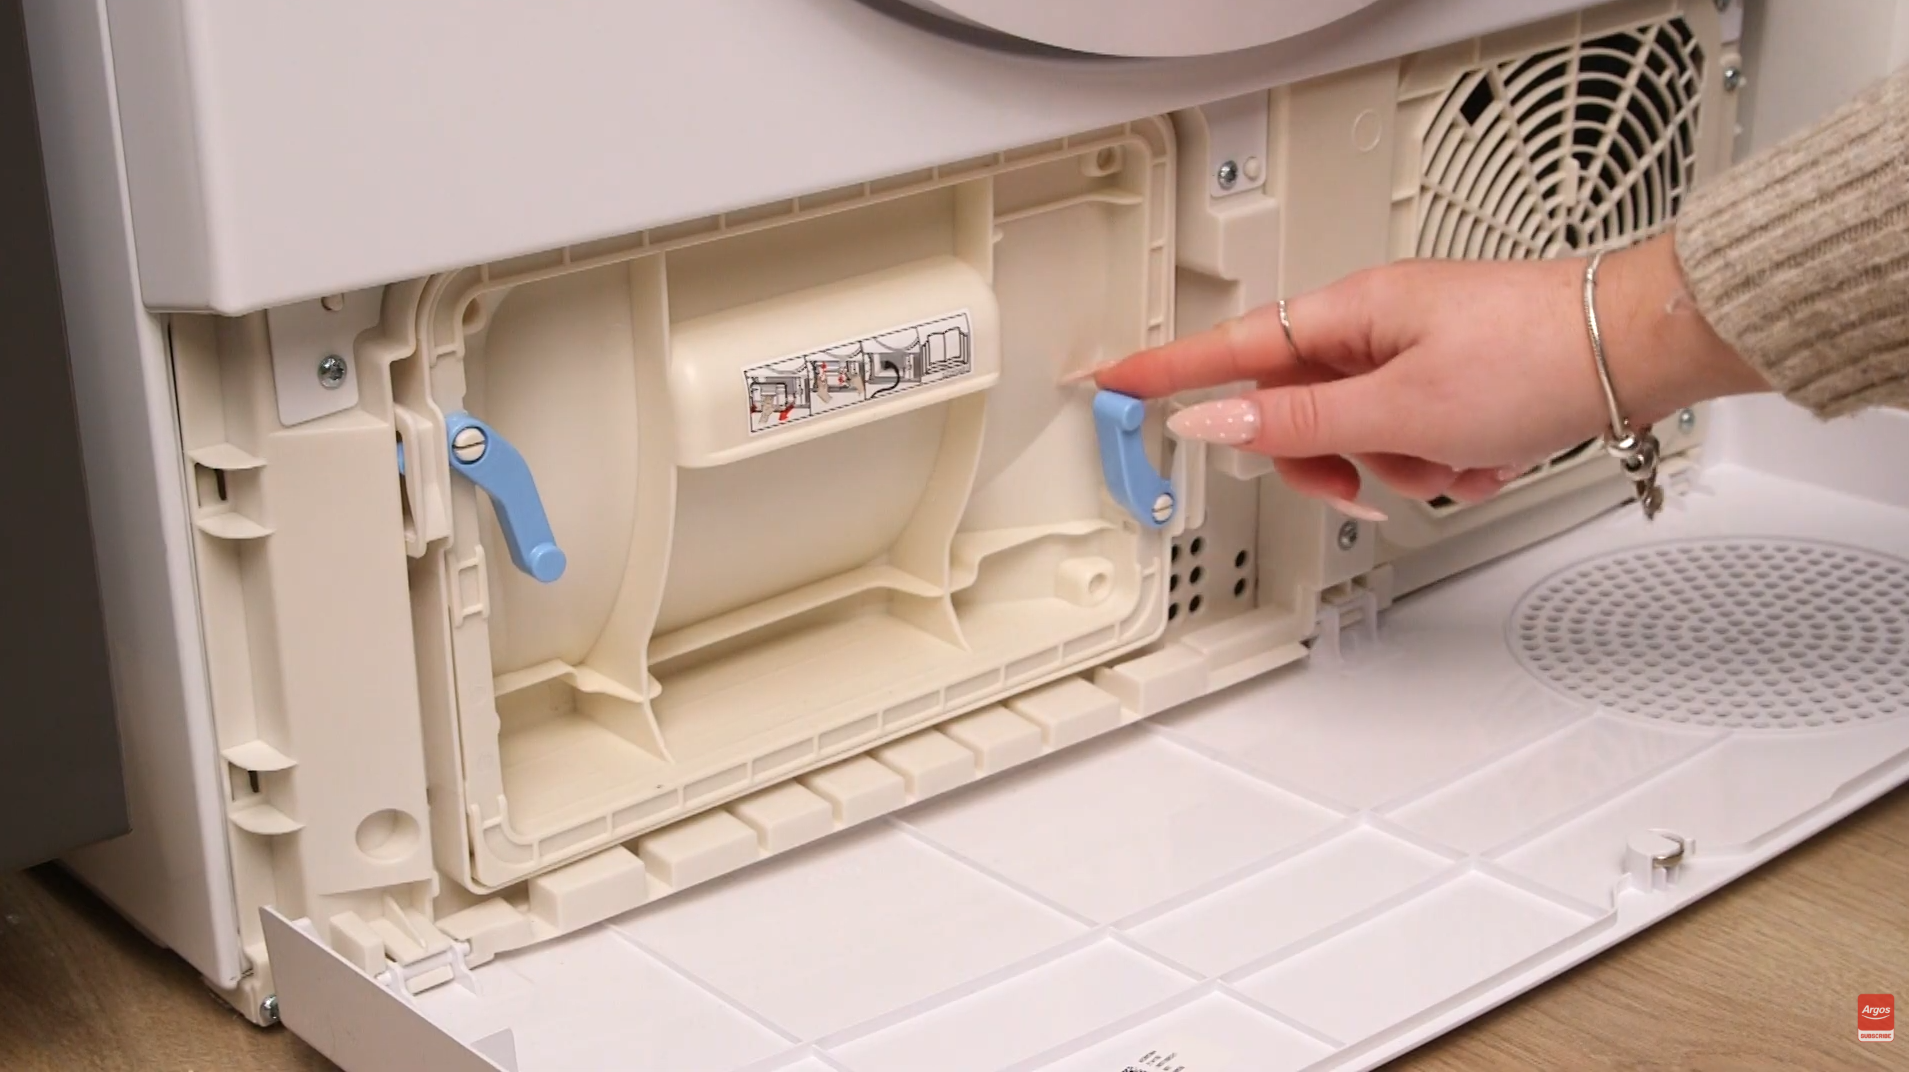
The heat exchanger is often located behind a small panel near the bottom of the dryer. Open the panel carefully, following the instructions for your appliance.
Step 2: Remove the inner cover
Some models have an additional cover secured with clips or a locking mechanism. Release these as instructed in the manual and remove the cover to access the heat exchanger.
Step 3: Remove any visible fluff and dust
Check the heat exchanger for any build up. Depending on your model, you may be able to use a soft brush or a vacuum cleaner with a brush attachment to remove loose debris. It's always best to check your user manual as they may have instructions specifically for this.
Work gently from top to bottom, taking care not to bend or damage the delicate metal fins. Avoid touching them directly with your hands, as the edges can be sharp.
Step 4: Replace the covers
Once the area is clean, refit any filters and inner covers, making sure they are correctly positioned and securely locked. Close the access panel before using the dryer again.
Important: Some heat exchangers can be removed and rinsed, while others must only be cleaned with a brush or vacuum. Never use water unless your manufacturer's instructions specifically allow it.
Other Tumble Dryer Maintenance Tips
Cleaning the heat exchanger is just one part of preparing your appliance for winter. Remember to clean the lint filter after every drying cycle, empty the water tank when needed and check the door seal for visible fluff or debris.
If your dryer has a moisture sensor, check the manual for advice on keeping it clean. These sensors help the appliance judge when clothes are dry.
For more advice on keeping your appliance in good condition, read our blog: Condenser Tumble Dryers: Troubleshooting Tips.
If you have a condenser dryer and want to understand more about collecting the water removed from your clothes, take a look at Tumble Dryers: Condenser Drawers Explained.
Ready for Winter Laundry?
A quick clean now can help you prepare for the colder months and keep on top of your laundry routine. You can also read our guide to Prepping Your Home for Cooler Weather for more ways to get your home ready for the change in seasons.
If your tumble dryer still takes longer than usual to dry clothes after cleaning, consult the troubleshooting section of your manual or contact the manufacturer for further advice.
Always follow the cleaning and maintenance instructions for your specific model.