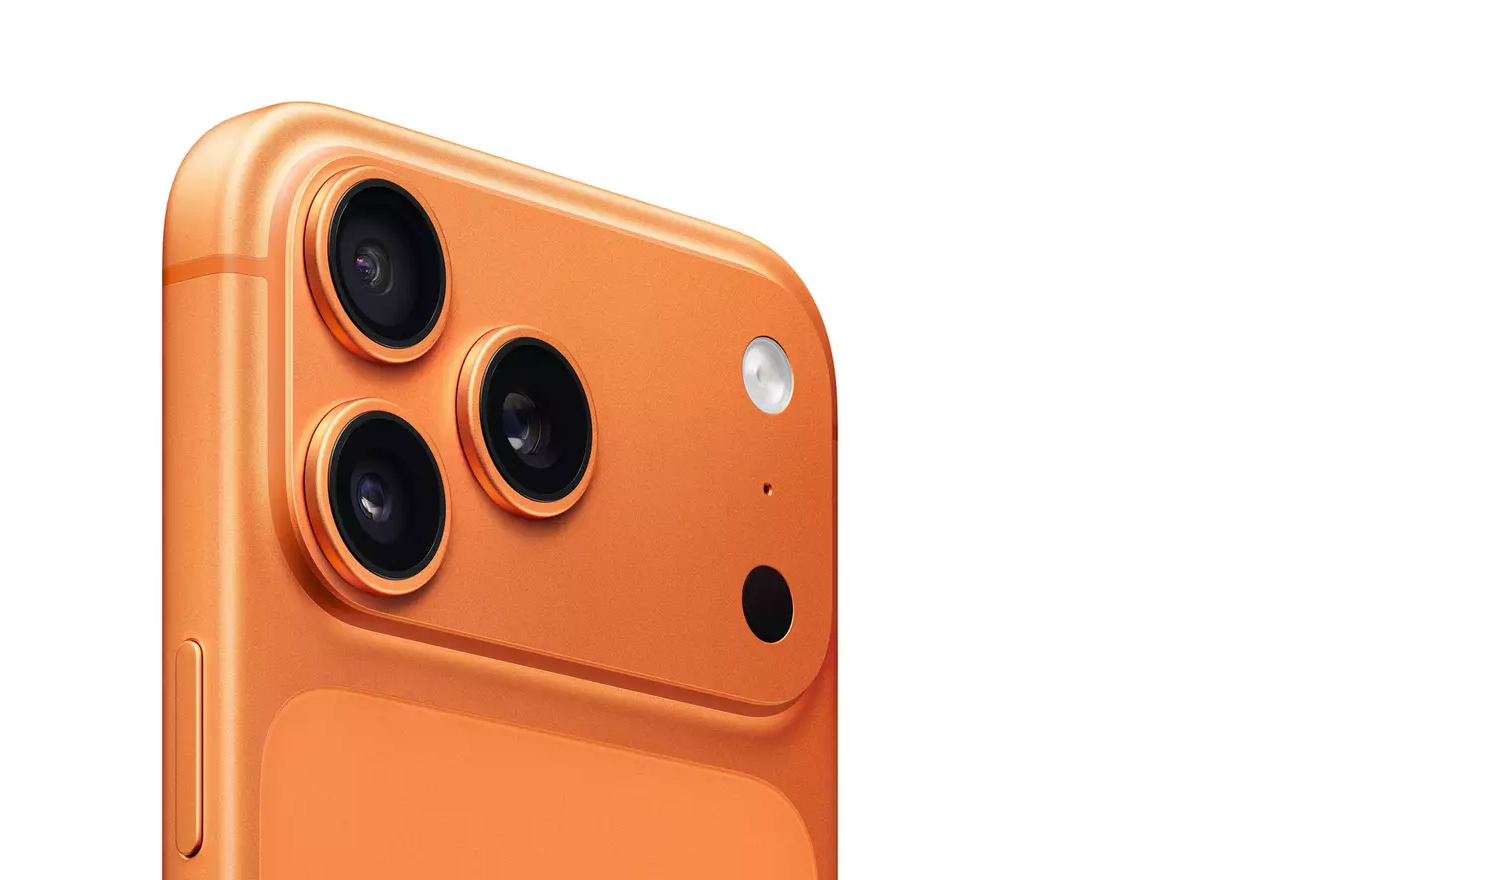
The camera app on the iPhone is so advanced that what was a hobby for the few is now in the reach of all with the ability to create some really high-quality images. Here are a few tips to help you get the best out of it.
Select the right shooting mode
There are a few modes available within your mobile phone’s standard camera app, for example Standard, Portrait, Video and (if a recent iPhone version) Cinematic. If you always use the standard camera mode, you may be missing out on some great pictures.
Portrait Mode
This mode is set up to have the subject of the photograph be in perfect focus while the background is out-of-focus and blurred. This makes the subject of the photograph really standout. While it was created primarily to create photographs of people, this mode can also work for anything that has an obvious foreground and background. It can also be used in reverse, the item in the foreground can be blurred and the background can be in sharp focus. This mode has a lot of potential and can be really fun to experiment with.
Macro Mode
Lenses and software now allow our cameras take reasonably good images of very small things. If you like insects for example, this mode will allow you take some reasonably detailed photographs of them, but not only that, there are a lot of other subjects that can make for interesting macro shots; food, textures and other seemingly mundane objects that when you look at them closely, they can be quite surprising. The level of blur can be edited later.
Cinematic Mode
As its name suggests, this mode was developed to give your videos a more professional look – however, in doing this it increases the file size (the amount of storage used to keep the file), so it’s best to only use this for special videos! Cinematic Mode allows you, much the same as Portrait Mode, to set which part of the action the focus is fixed upon. If the action changes at any point, you can with the tap of a finger change the object of focus or allow the software to control that which is focussed.
The Right Equipment
If you are looking to improve the quality of your photographs, then there are a couple of bits of kit you should consider getting.
Tripod
First, obviously is a tripod. This will give a stability to your images and particularly video. (If you don’t have a tripod, try these tips: hold the phone with both hands, lean against something solid for stability, keep your elbows close against your body and take a deep breath, when you finish the breath out – that’s the point when you hit the shutter release).
Lighting
The inbuilt flash can be limiting and using a separate light source or a ring flash will prevent the usual harsh result that the default flash creates.
Accessories
If you really want to push the envelope, there are attachable lenses that either clip to the phone or attach to a custom phone case. These improve the capabilities of the built-in lenses and are available in a wide variety of lens types; wide, macro, telephoto and microscope. The quality of these lenses do however, depend on the cost.
Composing the Shot
Basic principles of photography apply to mobile phone photography just as much as they do in traditional photography, so any book you pick up will still have a lot of viable information.
Rule of Thirds
If you look at a great photograph or painting, imagine it divided into thirds horizontally and vertically like a noughts and cross’s grid. You will see that the photographer/artist has placed the key components aligned to this grid. The horizon will be either on the dividing line for the lower third or upper third, main figures or key foreground details will be standing on either of the vertical grid lines.
This is an easy enough exercise to try, iPhones have a gridline built into the settings for the camera app (Settings – Camera, scroll to COMPOSITION and switch on Grid). Then take a photograph with the horizon running across the middle of the frame and then take the same picture, but with the horizon on either the upper or lower third grid line and compare the images. The rule of thirds images should be a lot more pleasing to the eye. Don’t worry - the grid is only visible while compose the shot and doesn’t appear on the final image.
Getting the lighting right
Photography is the process of capturing light, so making sure your subject has the right lighting is key to a good photograph. You may have heard about the ‘golden hour’, this occurs twice a day and is considered the best conditions for naturally lit photographs. It happens about one hour after sunrise and one hour before sunset as it creates a softer light than any other time of the day. Midday light can be harsh and make shadows harsh and extreme.
Pro tip: The camera app will do what it can to balance the lighting, but you can override this. Tap the subject of the composition, the camera will set that as the focus point and you will see a box appear around where you touched, by pressing and sliding your finger up and down on that point you can increase or decrease the lighting sensitivity.
Zoom
Try to avoid the zoom. Try and get as close to your subject as you can. The zoom function, particularly at high zoom levels, is created using a combination of the lens and software. The results end up being very poor quality, with the image being coarse and over-exaggerated.
Look
Before you take the picture, stop and check the image. Look at not just the subject of the picture, but also the background. Sometimes we concentrate on the subject of the photograph, and we ignore the scene behind it. By simply moving a step to one side or another, we can avoid trees growing out of heads or a child having a sulk behind the radiant bride!
Experiment
The beauty of digital, is that you can take as many photographs as your storage will allow, so try new things. Maybe a different angle, get really low or look down on your subject – if it doesn’t work, try something else it may be the shot of the day!
Beyond the photograph
Taking the photograph is not necessarily the end of the journey. Once you have the shot, there is a huge range of options on how to treat it. First, you can look at fixing any issues with the image, there are a range of options to correct any number of mistakes from lighting to colour saturation. But beyond that, there is also a large range of apps that can alter your photograph in incredible ways.
We hope that some of this helps you explore what is a very fulfilling hobby, if you want to upgrade your iPhone, Argos have a great selection to choose from.