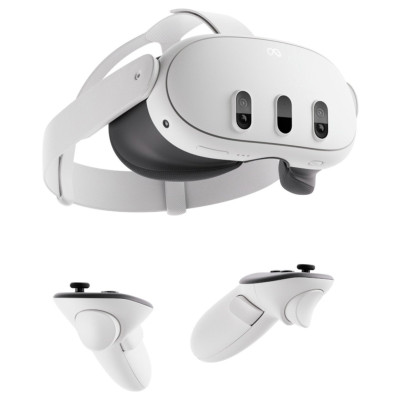
Meta Quest 3 512GB All-In-One Mixed Reality Headset
474/6188
Product details
- Brand: Meta
- Catalogue number: 474/6188
- Manufacturer's number: 899-00585-01
Meta Support
Email me this page
Enter your email address to have this page emailed to you *
Useful links
Online supportFAQs
- Carefully remove the paper from your headset strap and remove the lens films.
- Press and hold the power button on the left-hand side of the headset for three seconds, or until you hear a chime sound and see the Meta symbol appear in your headset.
- Remove the battery blocker from each controller by gently pulling the paper tab.
- Securely attach your controllers to each wrist using the adjustable straps.
- Turn on your controllers by pressing and holding
 Menu on the left controller and
  on the right.
 - After holding
 Menu and
  for two seconds, you should see a blinking white light and feel a haptic response, indicating that your controllers are ready to go.
 - From here, you'll progress through the first part of the in-VR tutorial including choosing a language and connecting to Wi-Fi, before moving on to adjusting the fit of your Meta Quest 3.
To ensure a proper fit when using your Quest 3:
- Start by loosening the back and top straps, then place the headset in a comfortable position against your face.
- Make sure that you move any hair that might get in front of your face or between the pad for best comfort and performance.
- Pull the straps over the back of your head and tighten the split straps.
- If you have a ponytail, we recommend pulling your ponytail through the opening in the split straps to increase comfort.
- Adjust the top strap to take weight off your face and hold the headset comfortably in place.
- You can adjust the angle of the headset to improve comfort by holding the headset with both hands and tilting it up or down on the headset arms.
- Use the lens adjustment wheel on the bottom left-hand side of the headset to change how close together the lenses are. Do this until the visuals in the headset are clear and visually comfortable to see.
- With the headset off, you can also use the depth adjustment buttons to adjust how far the lenses are from your face or eyeglasses.
- Gently tilt the headset arms upwards.
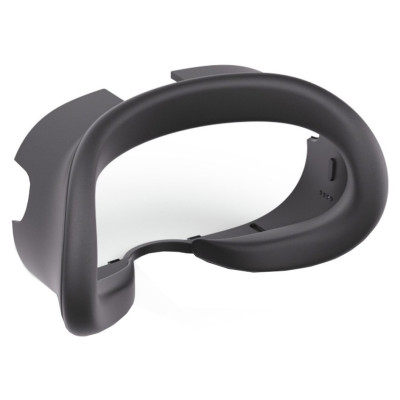
- Locate the eye-relief buttons next to the lenses inside the facial interface.
- Hold down the button on one side while holding the edge of the interface and slide the interface forwards or backwards to adjust the distance.
- Repeat for the other side to ensure that the depth adjustment setting is the same on both sides
To pair your headset to the Meta Horizon app and complete device setup:
- Download the Meta Horizon app from either the Google Play or Apple App store.
- Open the Meta Horizon app and log in or create a new account.
- Tap
 at the top of your Horizon Feed.
 - Tap Devices.
- Tap Connect new device, then tap Meta Quest 3 and follow the on-screen instructions.
After the initial software update is complete, your headset should automatically pair with your Meta Quest app.
If it doesn’t pair, enter the code shown in the mobile app to manually pair your headset.
If you’re unable to manually pair using the code, try the following:
- Make sure that the phone and headset are on the same WiFi network.
- Update the Meta Quest app.
- If the headset is being used by multiple people, you may need to log out and log back into the Meta Quest app.
- Factory reset the Meta Quest headset.
If you are experiencing issues with controller drift, try the following:
- Check the environment for any mirrors, microwave or infrared devices, or LED lights which may affect the sensors.
- Remove any debris from the controllers.
- Clean the tracking cameras on the headset.
- Unpair and repair controllers.
- Factory reset the Meta Quest headset.
How-to videos
-
Meta Quest 3 | How to Setup
-
How to Factory Reset your Meta Quest 2
-
Troubleshooting Black Screen
-
Troubleshooting Pairing Issues


Returns policy
If you need advice or support for your product, please in the first instance contact the support provider using the number on this support page.
If you still need to return your product then please visit our most up to date returns policy here.