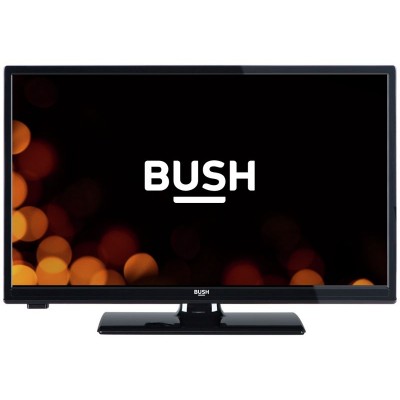
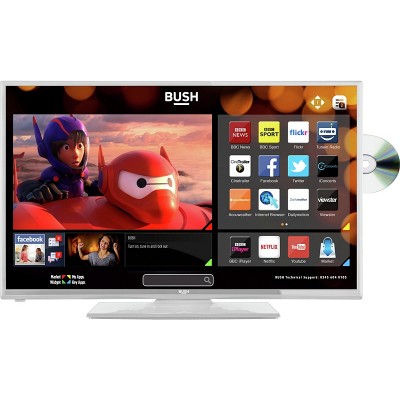
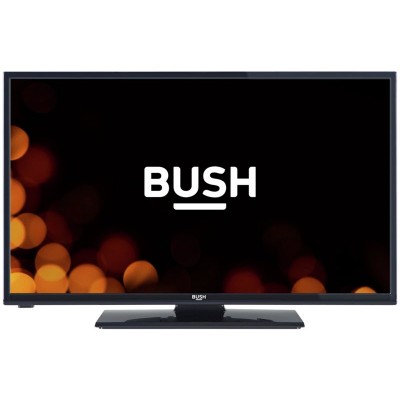
Bush 24' HD Ready LED TV/DVD Combi
417/5285

Product details
- Brand: Bush
- Catalogue number: 417/5285
- Manufacturer's number: LED2465DVDT2S
Argos Technical Support
 UK:
UK:
 Eire:
Eire:
Email me this page
Enter your email address to have this page emailed to you *
FAQs
You can register for your free Bush guarantee in a few simple steps by clicking here or watch the video below which will walk you through all the methods to register along with the benefits of doing so.
Please visit here for support on setting your Sky remote to work with your TV.
Please watch the below video to perform a camera test on the remote using a smartphone. This will allow you to see if the remote is producing a signal.
Check that all connections are fully inserted on both your TV and viewing source (for example, an aerial or a Sky box). If the issue persists, please try the following.
- Unplug the TV from the wall and disconnect any external devices.
- Hold down the manual button on the unit for 30 seconds (if unsure of location please refer to the user manual).
- Plug the TV back into a mains socket.
Please see how to perform a power reset here:
If this has not resolved the issue, please contact us using the details on the right hand side of this page and provide us with the model number and serial number of the TV.
The Network menu is not available when viewing a HDMI source. Change the source using the Source Button on the TV remote to Digital/Side AV/Back AV and open the menu to provide full access to the network settings.
Unfortunately, this app is not currently available on this TV. You can access this app by using an external streaming device, such as an Amazon Firestick, to download and use this app.
To access Freeview channels, the TV will need to be tuned into a digital aerial. Connecting the TV to the internet will allow you to access the SMART features and applications on the TV, but not the full channel list.
For more information on how to retune your TV, please use the interactive digital user guide at the bottom of this page.
If the TV is disconnecting from the internet, we would recommend trying the following:
- If multiple variations of your router appear in the network selection screen, select the one which does not have 5GHz at the end.
- Check that the TV is not situated too close or too far from the router, and that there are no obstructions that may be physically blocking the signal.
- Reset the WiFi router.
- Check if other devices are experiencing the same issue, or if it happens at a particular time. This may suggest there is an event triggering this loss of connection.
If you have purchased a universal remote, it should come with an instruction guide as to how to pair the remote with the TV. It will often have a list of codes for different brands. Locate the codes for this brand of TV, and follow the instructions to pair together.
If the TV is missing some channels, we would recommend carrying out an automatic channel scan to tune in these channels, and if necessary trying a First Time Installation or Factory Reset through the menu.
If this has not resolved the issue, you can check for any issues with the signal in your areal using the Freeview website here.
For more information on how to retune your TV, please use the interactive digital user guide at the bottom of this page.
You can use a digital aerial on this TV to access Freeview channels. This can be an external aerial that has been fitted by an engineer, or an indoor aerial that you can purchase and fit yourself.
If purchasing an indoor aerial, we would recommend checking the distance from the transmitter as aerials will have a different range specified on the product box. You can check the distance from your nearest transmitter using the Freeview coverage checker here.
This should help to identify what aerial you will need, and what distance range would be required for your location.
Ensure the TV is plugged into a mains socket and, if necessary, try an alternative mains socket. An extension lead does not always supply the TV with sufficient power, so the TV may not be able to turn on fully if connected this way.
We would recommend trying the below steps:
- Unplug the TV from the wall and disconnect any external devices.
- Hold down the manual button on the unit for 30 seconds (if unsure of location please refer to the user manual).
- Plug the TV back into a mains socket.
Please see how to perform a power reset here:
If this has not resolved the issue, please contact us using the details on the right hand side of this page.
To connect to the internet try the following steps:
- Open the Menu.
- Navigate to Settings.
- Navigate to Network settings.
- Follow the on-screen instructions to connect the TV to the internet.
For more information on connecting your TV to the internet, please use the interactive digital user guide at the bottom of this page.
If the TV menu is scrolling by itself, check that the button on the remote is not pressed down. If this does not resolve the issue, try the following:
- Unplug the TV from the wall and disconnect any external devices.
- Hold down the manual button on the unit for 30 seconds (if unsure of location please refer to the user manual).
- Plug the TV back into a mains socket.
Please see how to perform a power reset here:
If this has not resolved the issue, please contact us using the details on the right hand side of this page and provide us with the model number and serial number of the TV.
The TV may be blank or flickering due to the settings that have been chosen. To resolve this issue, try amending the following on your TV using these steps:
- Open the TV menu.
- Scroll to Settings.
- Scroll to System.
- Scroll to Device Settings.
- Disable ALLM (Auto Low Latency Mode) if your TV has this setting.
- If your TV does not have ALLM, or turning ALLM off does not resolve the issue, scroll to Picture Settings.
- Adjust the Picture Mode to take it off ‘Game Mode’.
If not resolved, in the Xbox settings, try the following steps:
- Go to Settings.
- Go to General.
- Go to TV & Display Options.
- Go to Video Fidelity & Overscan.
- Go to Colour Depth and change to 12 bit.
If the issue is still persisting, please get in touch with the support team using the contact details on this page.
Common issues and fixes:
Source
Check you are on the correct TV source to match the connection. If the device is in HDMI1 the TV source needs to be HDM1.
HDMI lead
- Try a HDMI handshake, disconnect the lead and swap ends.
- Try a new HDMI lead.
- Try a different HDMI port.
- Check the connection feels secure.
Reset the device
- Try a power flush or factory reset the Games Console and TV.
- Power flush: Unplug the device from power. Hold down the manual power button for 30 seconds. Plug back in and reconnect.
Check software
- Check the TV software is up to date and the console software is compatible with the TV.
- Most TV software can be found in settings>system>software. For specific guidance refer to the user manual.
PS5
1. Head to the PS5 Home.
2. Select” Settings” from the top-right or using the Game Bar.
3. Choose “Screen and Video.”
4. Select “Video Output.”
5. Choose “VRR” and set it to “Disabled.”
Xbox One
1. On your Xbox One console, go to the "Settings" menu.
2. Select the "Display & sound" tab.
3. Select the "Video output" tab.
4. Scroll down to the "Advanced video settings" section.
5. Untick the "Allow variable refresh rate" option.
For more in-depth guidance read our Blog here.
The most common causes for frequent buffering include: -
- A slow or unstable internet connection.
- A poor-quality Wi-Fi signal.
- Network congestion or high bandwidth usage.
- Outdated apps or an old device.
- Streaming in higher video quality than your internet connection can handle.
Try the following steps: -
- Pause the video/game for a few seconds to let it build up enough data to resume.
- Lower the streaming quality from 1080p to 720p.
- Close other apps or devices to reduce bandwidth usage.
- Use a wired ethernet connection.
- Move close to your router if you are using a Wi-Fi connection.
- Restart your router.
- Check if there is an update for the streaming app or your devices firmware.
Below is a general guide:
- Standard Definition: 3-4 Mbps.
- High Definition: 5-8 Mbps.
- 4K/Ultra HD: 15-25 Mbps.
Possible reasons for your streaming still buffering are: -
- Inconsistent internet speed.
- Wi-Fi signal keeps dropping.
- The ISP (Internet service provider) or streaming service is overloaded.
- Device performance issues (E.g., overheating, low memory).
Try the following: -
- Run an internet speed test using for example Speedtest.net.
- Try streaming on a different device.
- Use a different streaming platform (E.g., YouTube).
Questions & answers
How-to videos
-
How to register your product
-
How to do a Power Reset
-
Retune Your TV For The Transmitter Changes
-
Connecting to Wi-Fi
-
First time installation
-
TV Remote test
-
What to Try if Your TV Cannot Find Channels
-
How to Setup Bush DVD Player
-
Understanding TV Wall Mounts
-
How to solve problems with a HDMI connection
-
How to Solve Signal Issues With Your Television
-
What to do if you TV loses signal
-
What is HDMI ARC?
Interactive Help
-
Click here to view an interactive step-by-step guide for your product.
Returns policy
If you need advice or support for your product, please in the first instance contact the support provider using the number on this support page.
If you still need to return your product then please visit our most up to date returns policy here.


