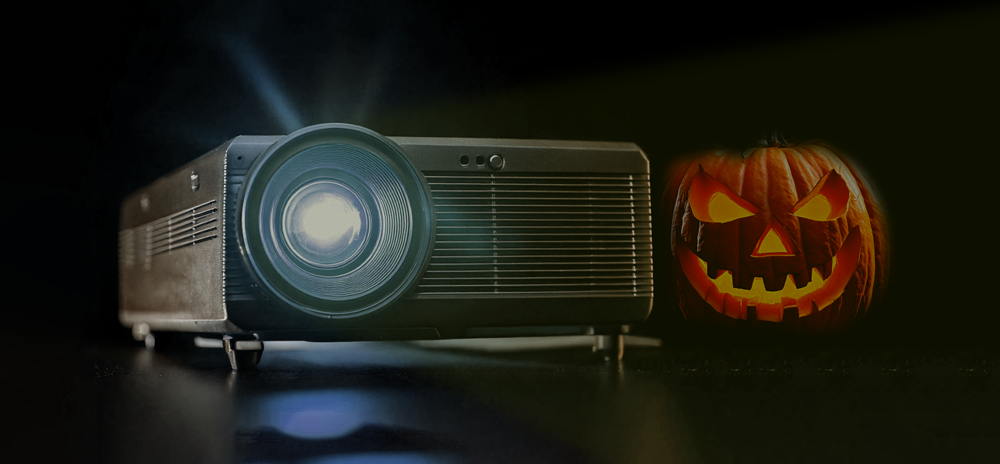
Halloween is the perfect time to transform your home into a spooky spectacle, to up the fear factor, one of the best ways to do that is by using a projector. A Halloween projector display can create eerie scenes, bring animated ghosts to life, or turn your garden into a haunted graveyard. However, setting up your projector for the best possible effect requires a bit of planning. From choosing the right location to ensuring the display is clear and weatherproof, here are some essential tips for setting up your Halloween projector display.
1. Selecting the Perfect Projector for Halloween
The first step in setting up your Halloween display is selecting the right projector. For an outdoor or window-based display, you'll need a projector that offers good brightness and resolution. Look for one with at least 2000 lumens for outdoor use, as this will ensure the images are bright enough to be seen in low-light conditions. If you're projecting onto a large surface like the side of your house or garden wall, consider a projector with a higher resolution (720p or above) to maintain clarity over a bigger area.
2. Getting the Best Picture: Distance and Focus Tips
To get a crisp, clear image, it's essential to position your projector at the correct distance from the projection surface. Every projector will have a recommended throw distance (the distance between the projector and the surface), so consult the manual for guidance. Typically, projectors work best when placed around 2 to 5 meters from the surface, but this will vary based on the size of the image you want.
Once the projector is in place, adjust the focus using the focus wheel or digital settings. Ensure the projection is sharp, especially if you're using detailed media like animated characters or text. For the best results, use a flat, light-coloured surface like a garage door, wall, or a window sheet specifically designed for projector displays.
3. Picking the Ideal Halloween-Themed Media
Choosing the right media to project is key to creating an engaging Halloween display. Many projectors are compatible with USB sticks or HDMI connections, allowing you to play pre-loaded Halloween-themed videos or animations. You can find spooky clips online, ranging from creepy crawlies to terrifying ghosts.
4. Protecting Your Outdoor Setup from the Weather
If you’re planning to place your projector outside, especially in unpredictable October weather, it’s important to make sure it’s protected from the elements. While some projectors may come with weatherproofing, others will need extra protection. A waterproof projector case or enclosure can safeguard your equipment from rain and moisture while still allowing airflow to prevent overheating. Be sure to also protect any cables or power sources.
5. Creating Atmosphere with a Smoke Machine
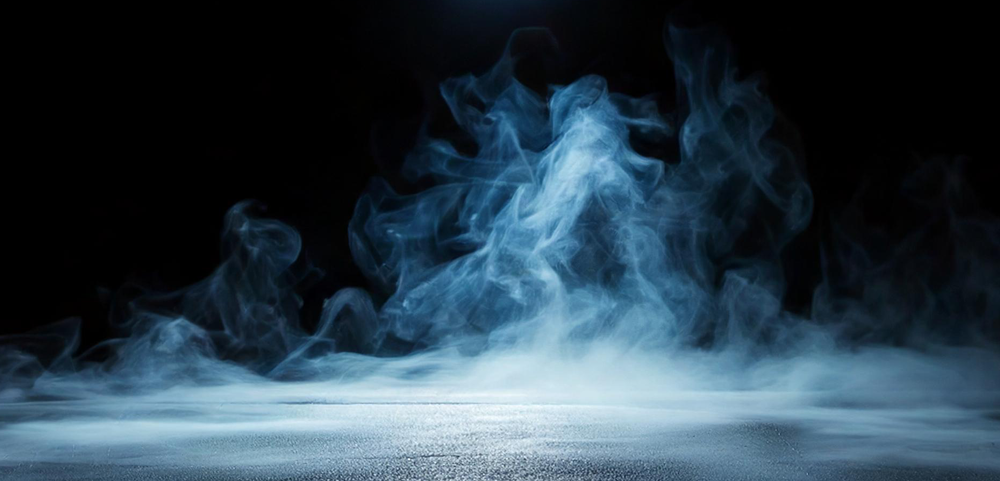
For an extra eerie touch, consider using a smoke machine to enhance your Halloween projector display. The mist will make projected images appear to float through the air, creating a ghostly effect. Be sure to position the smoke machine near the projector's light beam for the best results. Look for smoke machines with adjustable output settings so you can control the amount of mist, ensuring it doesn't obscure the display completely.
6. Enhancing Your Display with Sound and Lighting Effects
To complete your Halloween setup, think about adding extra lighting like flickering LED candles or pathway lights to guide trick-or-treaters. Pair this with some eerie background music played through Bluetooth speakers to create an immersive experience.
Conclusion
By following these tips, you can create a spooktacular Halloween display that will leave everyone in awe. Whether its animated ghosts flying through your garden or eerie scenes flickering in your window, a well-set-up projector display will bring the spirit of Halloween to life!
View the full range here