Thinking of introducing a dishwasher to your kitchen, but not sure about where or how to install it? You may choose to have it installed by a tradesperson; but with a little bit of knowledge, you can install them yourself.
However, it is possible to make errors if you haven’t fitted one before. Below, we have highlighted our advice for installing a dishwasher for the first time.
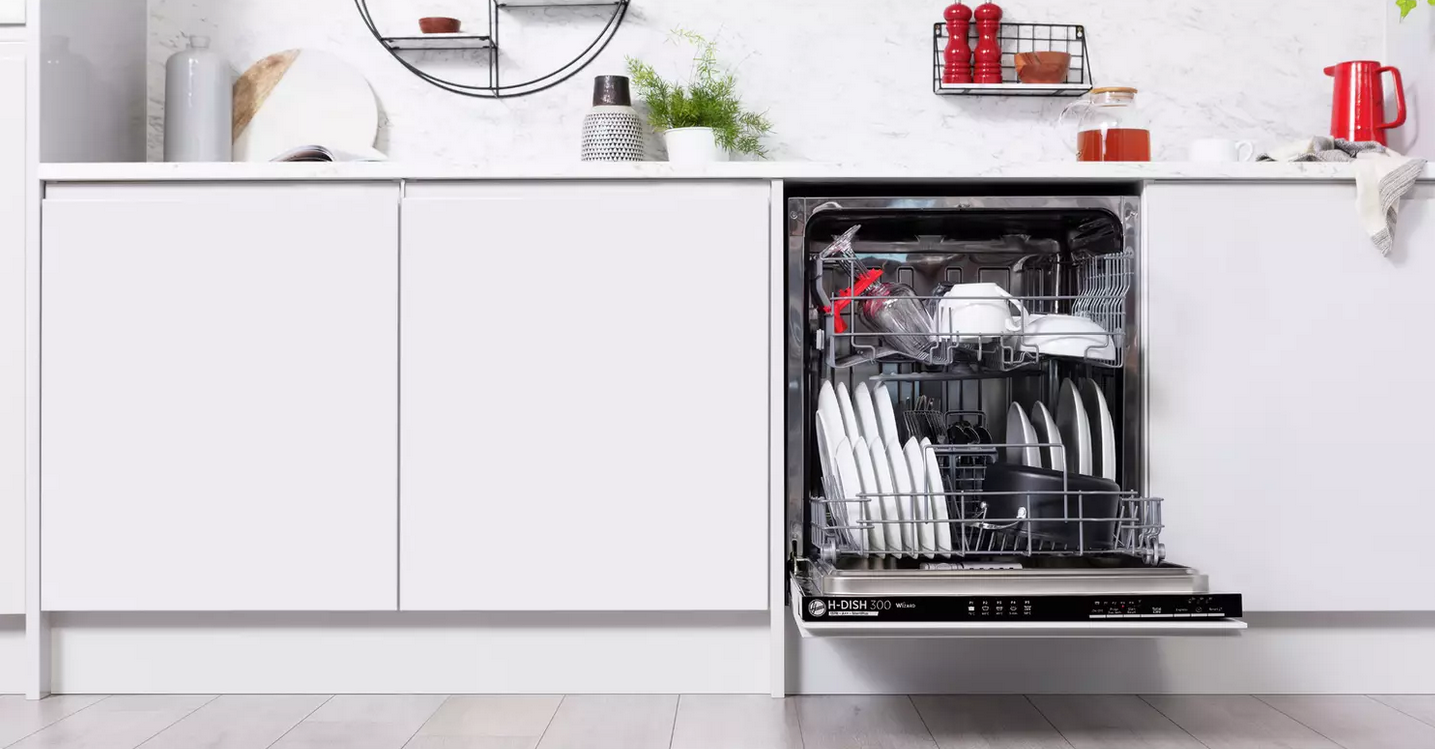
Location: Situate near a water supply.
Firstly, you need to decide where to set up the dishwasher. You’ll need to be close enough to a water supply to connect the appliance. You should take note of the surroundings to have enough space around the appliance for clearance, as if too tightly compacted it can cause excess vibrations. Another factor to consider is convenience. You will want the appliance in a convenient place near your cupboards and drawers so your dishes can be safely put away after cleaning.
Level: Don’t tilt forward.
After picking the right location, you will need to check the legs are level. This is important for a couple of reasons. If the dishwasher is tilted forward, it can sometimes mean the door won’t close properly or the dish rack may slide out of the door. Also, an unbalance appliance is more likely to vibrate, causing excess noise or affect the drainage within the appliance.
You can use a level against the legs to ensure the appliance isn’t tilting forward. Once level and the rack is secure, you can move onto the next step.
Salt and Rinse Aid: Fill it up.
Salt and rinse aid is an important part of your dishwasher’s operation so you should keep this topped up before you begin. Salt helps to prevent limescale build up, and the rinse aid supports the cleaning to get great results. Simply fill up the salt cap and the rinse aid cap to the correct level before operation. You can read more about salt and rinse aid here.
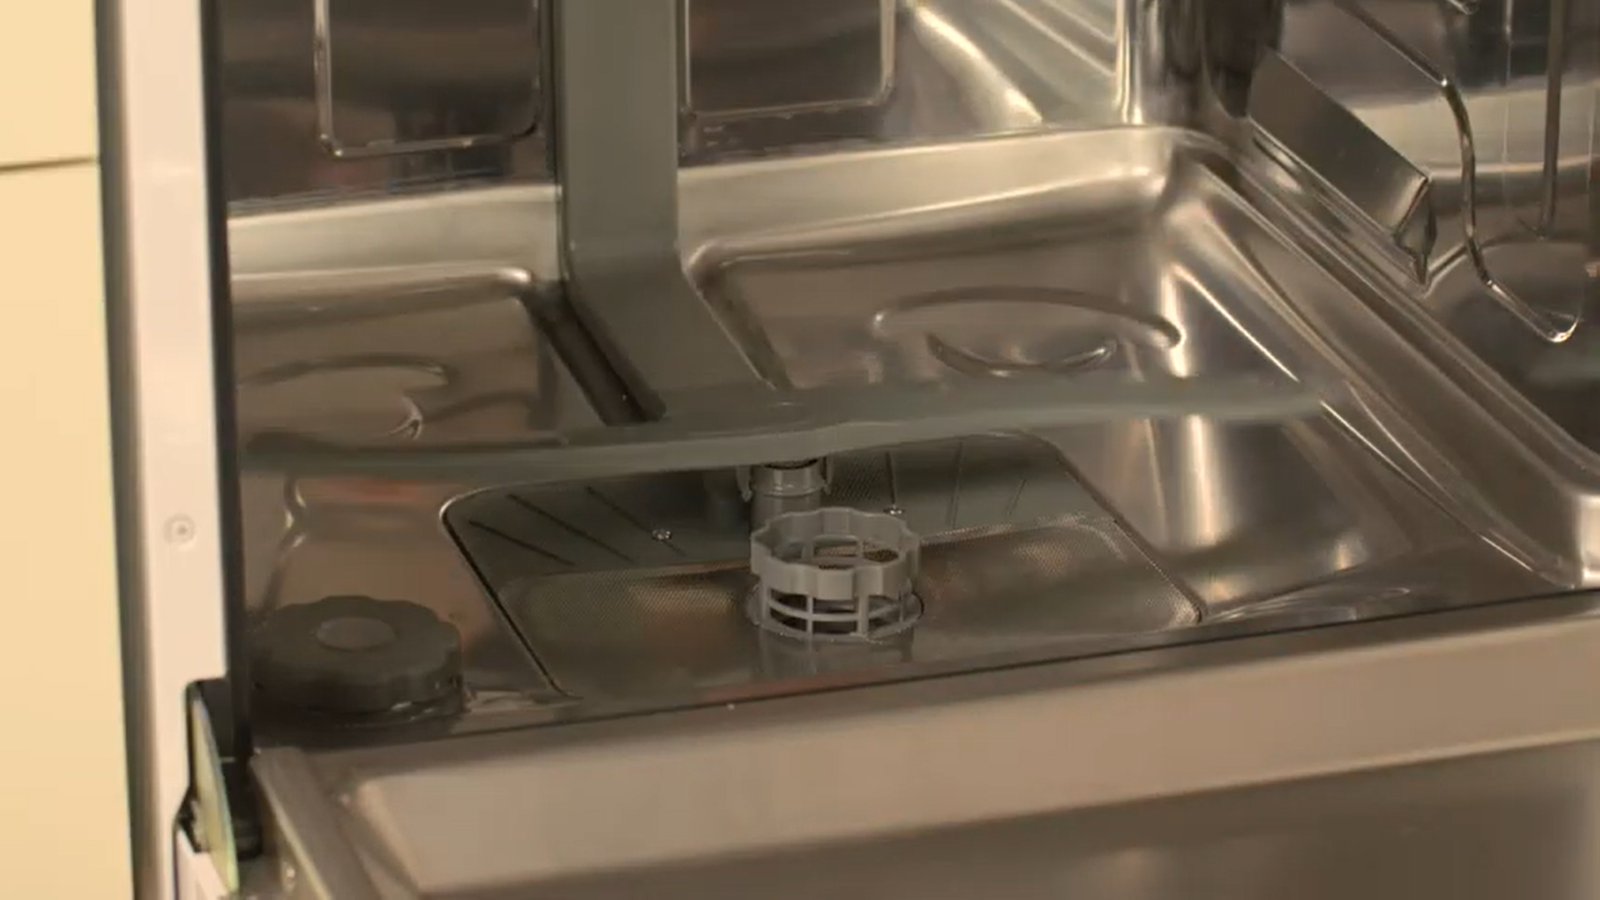
Spray Arms: Correctly connected to the appliance.
The spray arms help to spray the water on the dishes, providing a thorough clean. When installing your appliance, you will need to fit this to the unit. It needs to be correctly attached to prevent it from coming off or wobbling during the cleaning process. Slot down and twist to tighten. Try giving them a spin once fitted to confirm they are secure.
Inlet pipe: Let the water flow.
Arguably the most important part of the dishwasher is the inlet water supply. This enters the appliance via the inlet pipe. This is the thinner pipe attached to the appliance. It should be connected directly to the water inlet tap. This can be tightened by hand to keep the connection secure. Once secured, turn the tap to open to allow the water to enter the appliance when turned on.

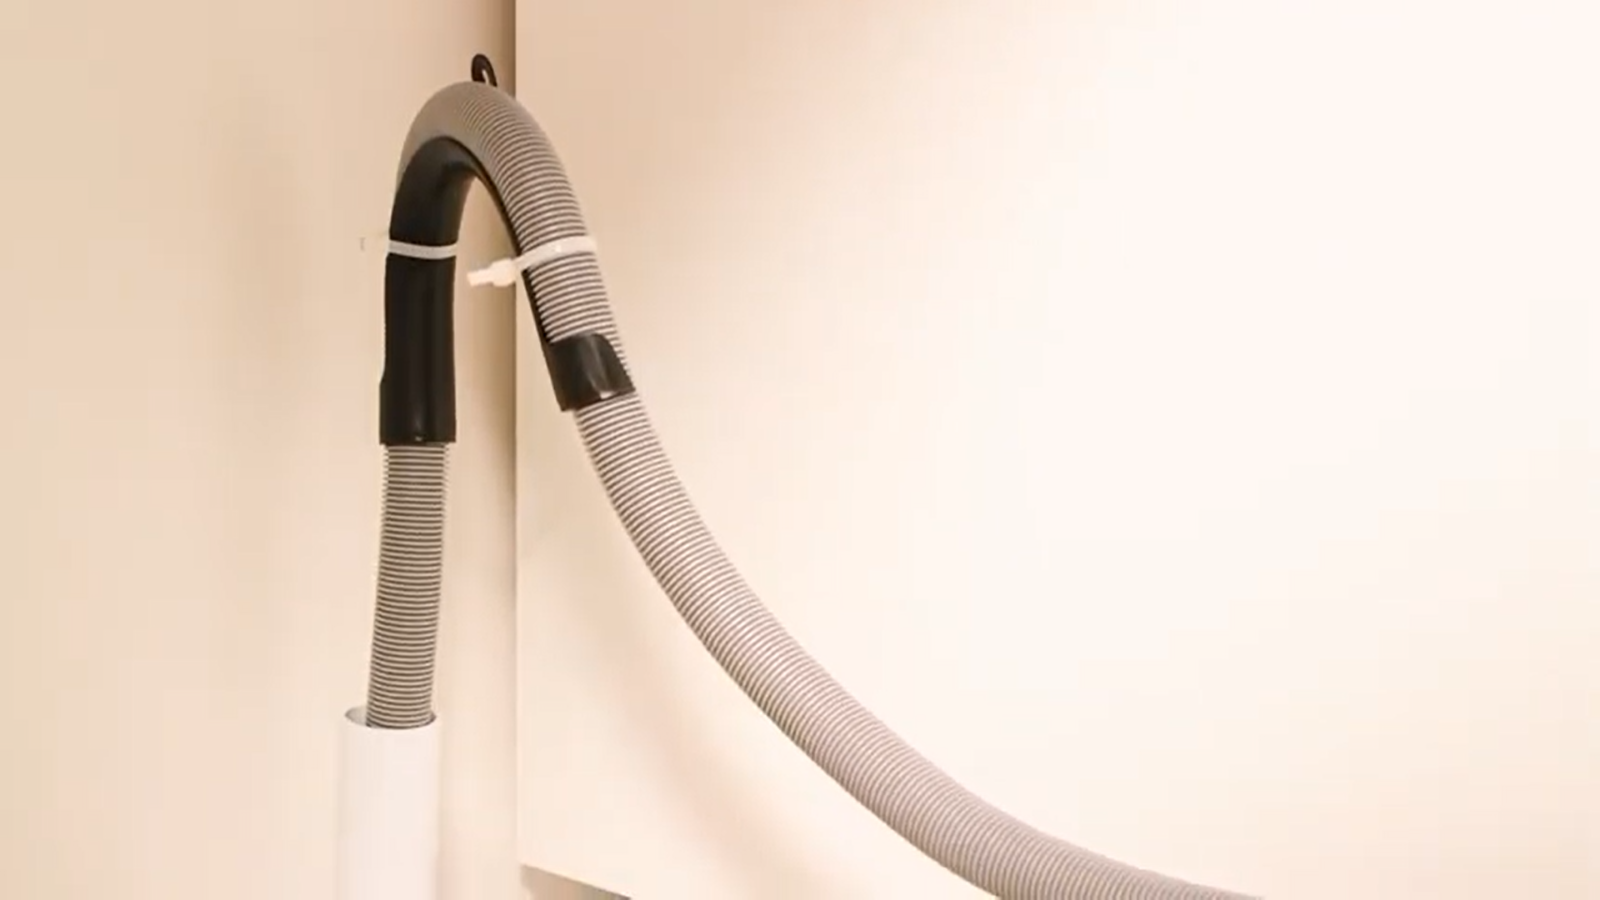
Outlet pipe: Don’t restrict the drainage with bendy loops.
The drainage is equally important to get right. The drainage hose is usually the thicker, crinkled connection pipe at the back of the appliance. The drainage setup under your sink may look different depending on if you are using a spigot connection or a stand pipe. Always refer to the instructions in your manual for specific information on drainage connections.
Try to avoid any sharp bends or steep loops as this will make it difficult for the water to flow out of the appliance. To keep the hose secure and prevent it from becoming dislodged, you can use a cable tie to keep it in place. When pushing the appliance back, check that the drainage does not get trapped or squashed.
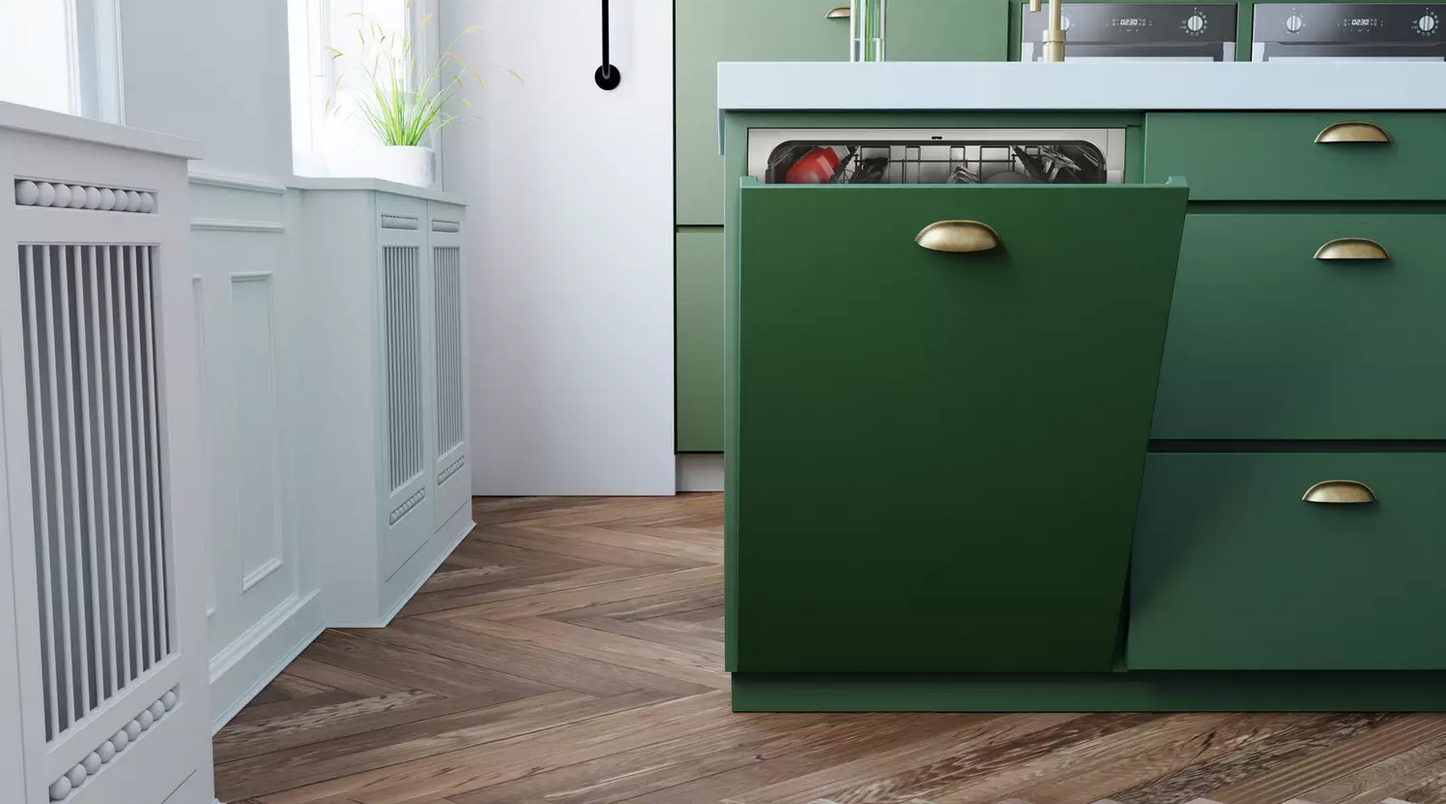
Doors: Integrate before operation.
If you’re using an integrated dishwasher it is essential that you integrate the door before using the appliance. This is because the integrated doors require the attached door to weigh down the dishwasher door. Without this, the opening and closing mechanism will not operate correctly, meaning that programmes cannot start.
Test: Trial a cycle to check all is working.
The last thing to do before your installation is complete is to test a cycle. Try a short programme to see if the water fills, rinses, and drains. If it doesn’t, make note as to how far it gets into the cycle. If it stops at the drainage part, you may need to re-check the drainage. If a programme doesn’t start at all, double check the inlet pipe.
To summarise...
Once you’ve covered these basics, your dishwasher should be good to go. If you’re ever in doubt, we recommend contacting the relevant support team or consulting a professional to confirm your appliance is set up correctly. You can read about improving the performance of your dishwasher here.
For more of our blogs, click here.