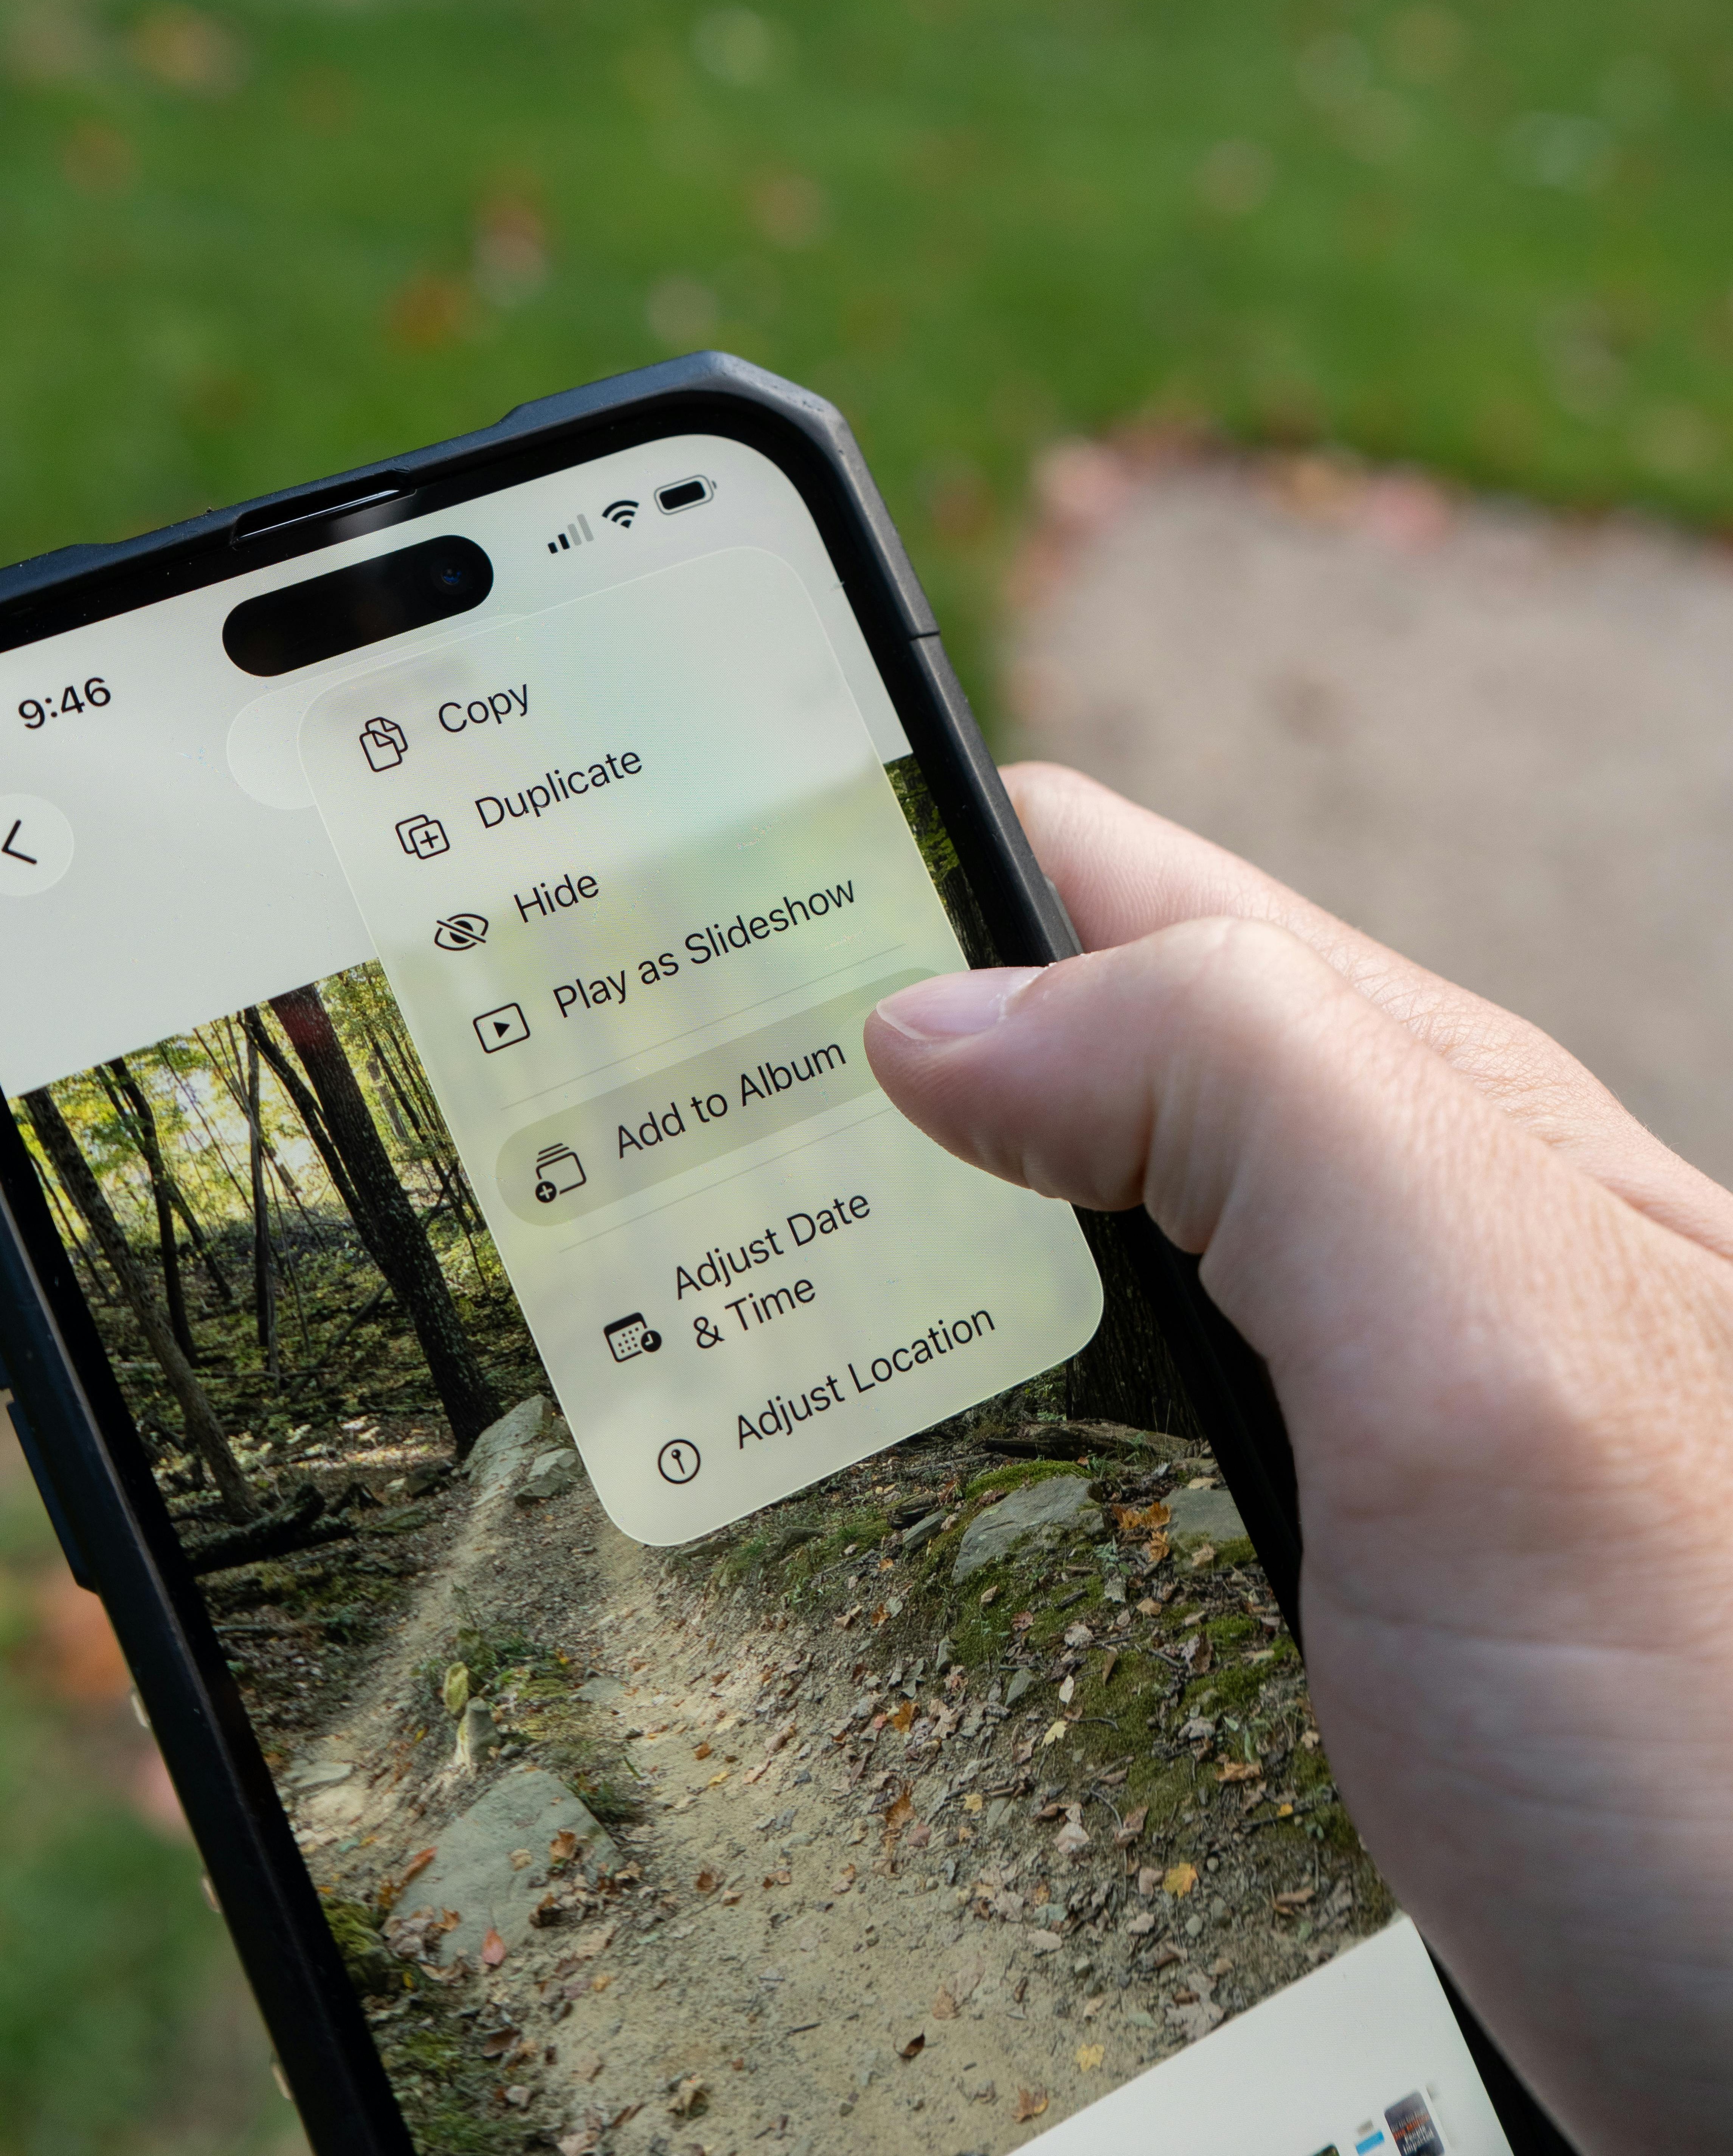
If your Apple Photos app has become a dumping ground for screenshots, blurry duplicates, memes, and thousands of random camera roll moments, here is some decluttering tips.
Most people never intentionally “organise” their photo library. Photos just build up over time until finding anything becomes frustrating. However, Apple Photos is designed to do far more of the work for you than most people realise.
Once you understand how the app works and make a few small changes, it becomes much easier to manage your photos without spending hours sorting folders.
First, Understand the Difference Between Library and Collections
One of the biggest reasons people feel confused by Apple Photos is because they treat everything like one giant camera roll.
Apple Photos now works in two different ways: Library and Collections.
Your Library tab is your full photo history. Everything appears here in chronological order including photos, screenshots, videos, downloads, and edits. Think of it as the archive of your life.
The Collections tab is where Apple tries to organise things intelligently for you. Instead of endless scrolling, Collections groups content into sections like:
- Trips
- People and Pets
- Memories
- Featured Photos
- Albums
- Recent Days
This is designed to help you rediscover moments rather than manually organise every image yourself. Once you stop relying purely on the library tab, Apple Photos can start to feel a whole lot less chaotic.
Customise Your Layout to Reduce Clutter
Most people never realise you can completely customise the Collections screen.
Scroll to the bottom of Collections and tap “Customise and Reorder.” From there, you can move sections around, hide the ones you never use, and prioritise the features that matter most to you.
For example:
- Move Albums closer to the top if you use them regularly
- Push Memories lower down if you rarely open them
- Prioritise Trips if you travel often
- Hide sections that feel unnecessary
This sounds simple, but it makes a huge difference.
Use the Pinned Section Properly
The Pinned section is one of the most useful features in Apple Photos and one of the most underused.
Pinning lets you keep important albums, collections, or people permanently accessible with a single tap.
Good things to pin include:
- Family albums
- Important documents
- Shared albums
- Travel folders
- Favourite people or pets
The mistake people make is pinning too much. If everything is pinned, nothing feels important anymore. Keep it focused on the photos and albums you genuinely access regularly.
Stop Manually Organising Everything and Start Using Search
Apple Photos search function is surprisingly powerful.
You are no longer limited to searching dates or locations. The app can recognise:
- Objects
- People
- Animals
- Text
- Places
- Activities
You can even type multiple fields into the search things like:
- “Dog on the Beach”
- “Coffee in Cardiff”
- “Insects at home”
- “Car at home”
- “Big Ben London”
It can even detect text inside screenshots and photos.
- Need to find a receipt from months ago? Search the shop name or receipt.
- Trying to locate a photo of a menu you took on holiday? Search the restaurant or city.
The more you trust search, the less pressure you feel to build complicated album systems.
Use Filters and Utilities for Faster Clean Ups
Apple has also quietly added tools specifically designed to help clean up messy libraries.
Inside the Utilities section, Photos automatically groups things like:
- Duplicates
- Screenshots
- Handwriting
- Receipts
- Recently Saved images
The Duplicates tool is especially useful because it allows you to merge identical images while keeping the best quality version.
You can also filter your library to show only:
- Videos
- Edited photos
- Favourites
- Shared content
Instead of trying to organise your entire library in one exhausting session, you can tackle one category at a time.
That approach is usually much faster and much less overwhelming.
Make Apple Photos Work for Your Brain
The biggest mistake people make is trying to create a perfectly organised archive.
Most people do not need:
- Dozens of detailed albums
- Complex folder systems
- Perfect categorisation
A simpler setup usually works far better.
Use:
- Search for finding things
- Pinned items for quick access
- A small number of meaningful albums
- Apple’s automatic organisation tools wherever possible
Your photo library should feel easy to use, not like another digital chore to maintain.
When you organise around how you naturally remember moments including people, places, events, and routines. Apple Photos becomes dramatically more useful and far less stressful to manage.