Inflatables are something we associate with leisure and relaxation, be it a beach day with an inflatable float or a camping trip with an air mattress. However, the thrill can quickly deflate when you discover a puncture threatening your inflatable's functionality. Fear not, as we delve into a life hack that transforms you into the savvy repair person your inflatable desperately needs.
To do this, you will need a few simple tools:
- A microfibre cloth.
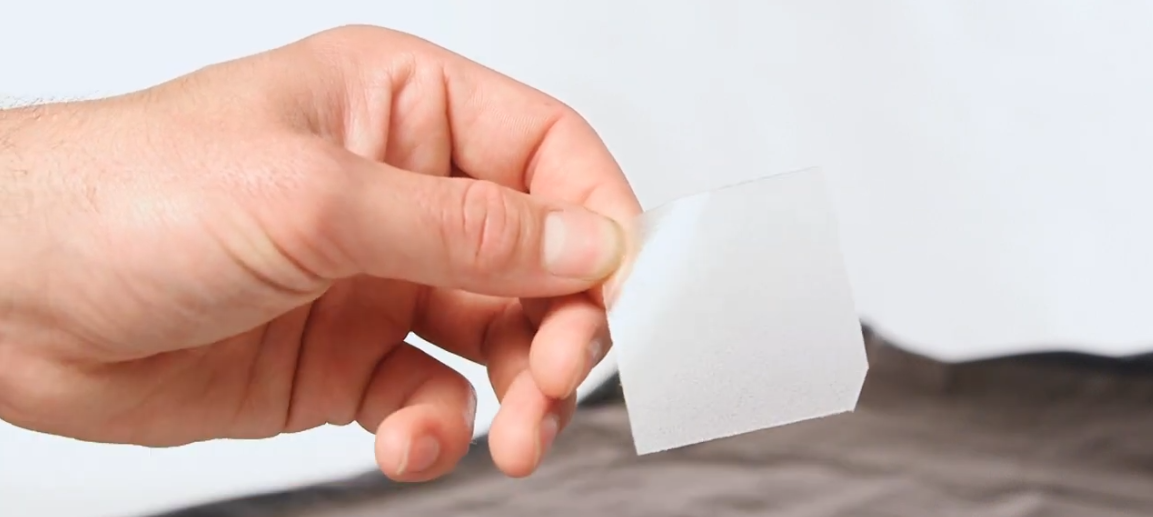
A repair patch (these may come with your product or can be purchased from various third-party retailers. They are small sticky labels which can stick over a puncture).
A spray bottle containing water and washing up liquid.
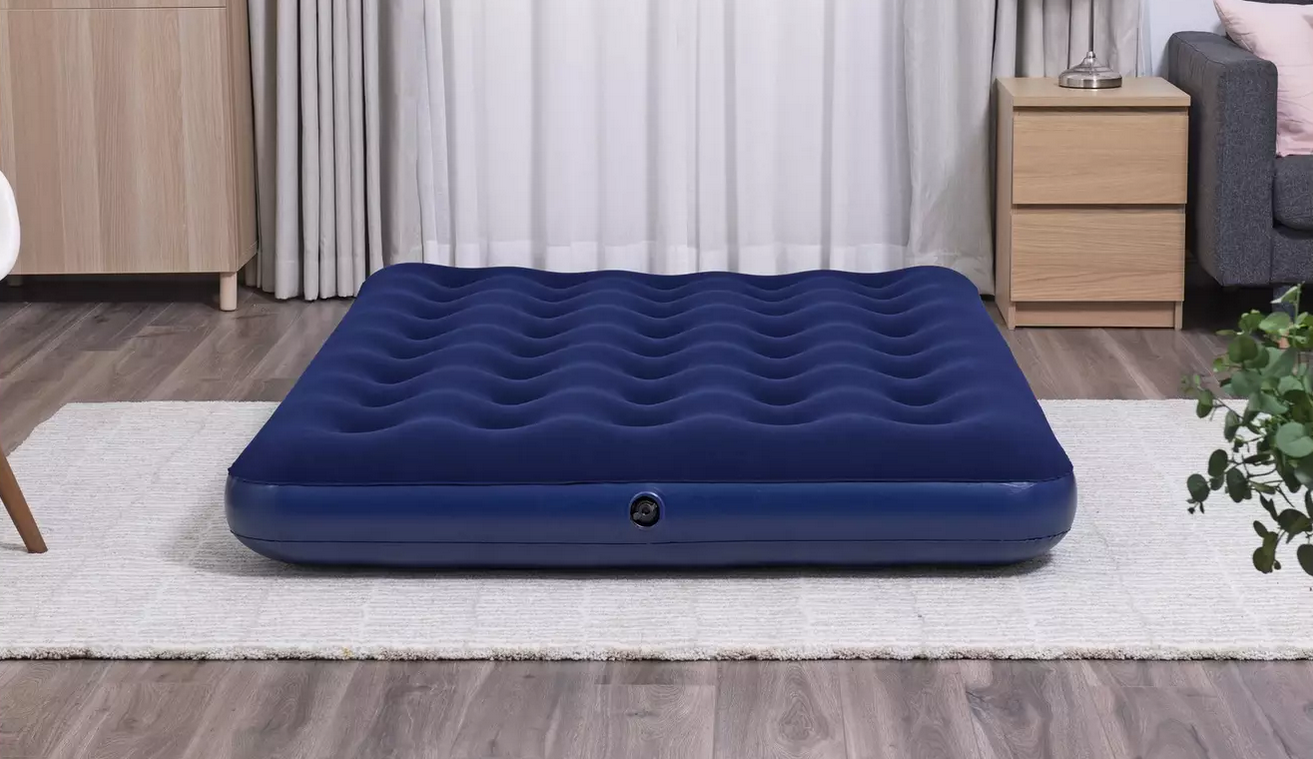
#1. Inflate the inflatable.
Firstly, inflate so it is full, as if you were about to use your airbed or mattress.
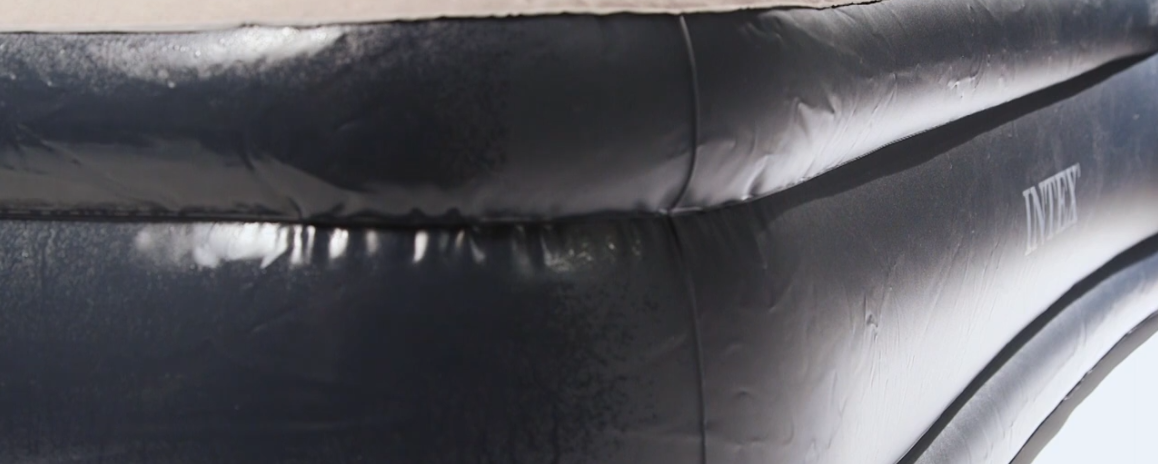
#2. Spray the washing up liquid.
Next, spray the washing up liquid across the section of the inflatable that you believe to be punctured. If you’re unsure, spray larger areas focusing on area for potential, such as seams and joins.
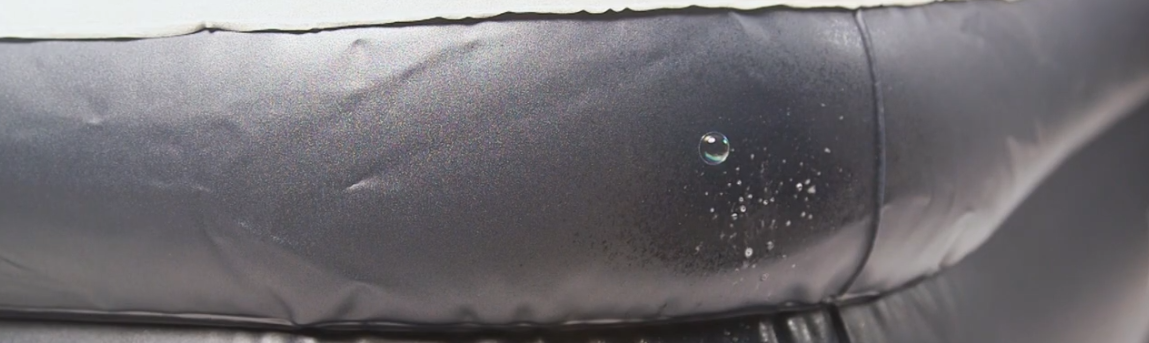
#3. Stop, look, and listen.
Then carefully look and listen for bubbling and hissing sounds coming from the area.
#4. Wipe away the washing up liquid.
Once the bubbling and hissing area has been identified, wipe away the washing up liquid to clean the area. Ensure that you do not lose where the puncture is located.
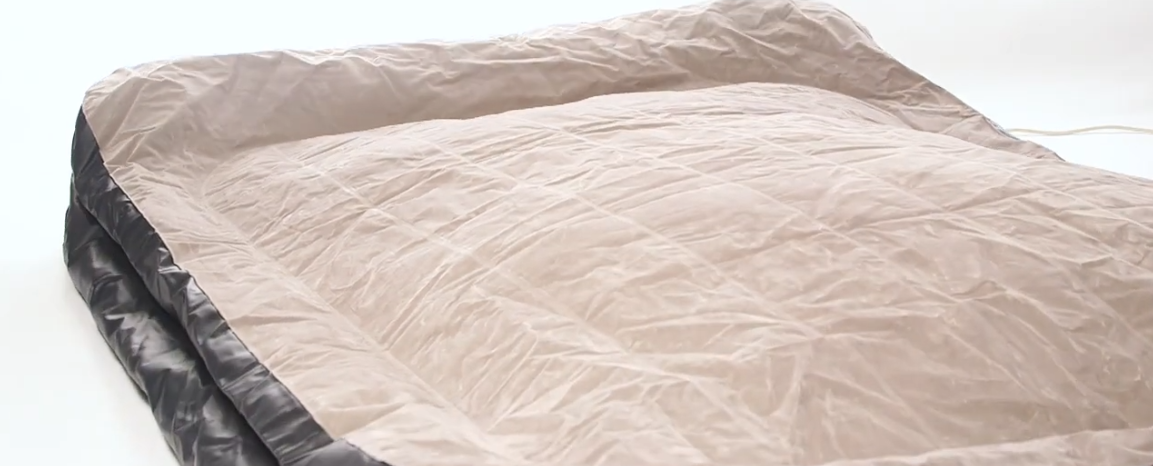
#5. Deflate the inflatable.
Next, deflate completely so you have a completely flat area to work with.
#6. Dry the area and gently apply the repair patch.
Make sure the area is completely dry, then peel the repair patch away from the packaging and gently apply it to the punctured area. Be diligent in removing any air bubbles under the patch during the application process to minimize the risk of it leaking air once set. Allow 30 minutes for the patch to settle and fully adhere to the material.
#7. Inflate to test.
Inflate back up to test that the patch has been successful in repairing the puncture. If all goes well, you can confidently use your inflatable once again, turning a potential inconvenience into a quick and effective DIY solution and helping the planet by keeping it from landfill.
Summary
By using this simple tip, you can save your inflatable with a DIY solution and do not need to worry about purchasing a whole new replacement. If you have an inflatable or are looking to purchase one, we recommend keeping a repair kit pack to hand in the event you ever need to take on the dreaded deflation!
You can also view our video on how to repair a puncture on an inflatable by clicking here.