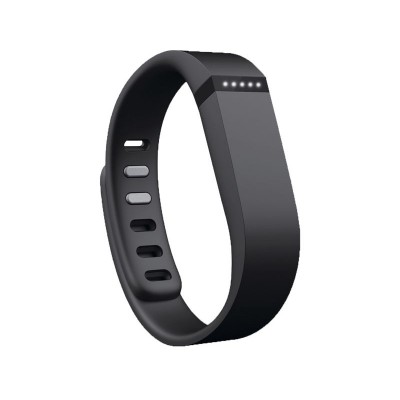
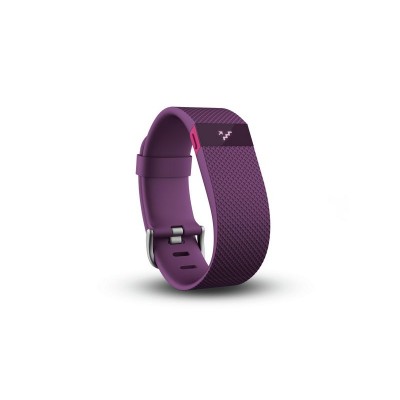
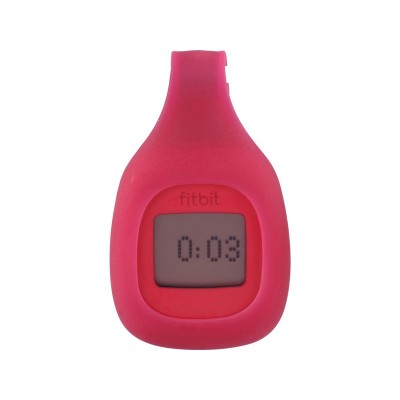
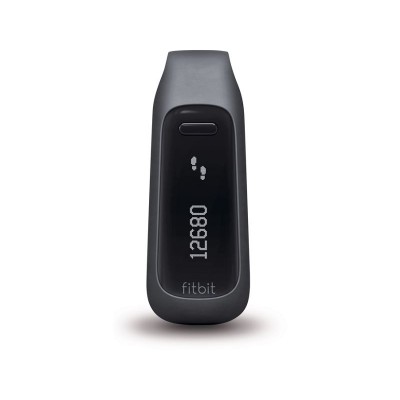
Fitbit Flex Wireless Activity and Sleep Wristband - Black
404/1261

Product details
- Brand: Fitbit
- Catalogue number: 404/1261
- Manufacturer's number: FITBIT FKEX (BLACK)
Fitbit support
 UK:
UK:
 Eire:
Eire:
Email me this page
Enter your email address to have this page emailed to you *
FAQs
For help understanding the tracker notifications watch the 'How to Use Notifications' video below or alternatively click here for more information.
For detailed steps on how to set up your tracker click here.
Fitbit Flex comes with a large and a small wristband. If you choose the small wristband, you’ll need to remove the clasp from the large wristband and put it into the small wristband:
- Push the clasp out with one thumb from the inside of the wristband.
- Pull out the clasp.
- Insert the clasp into the small wristband by pressing a few times with both thumbs to ensure that the clasp is flat and in line with the wristband.
- If there is a bulge on the inside of the band between the two inside prongs of the clasp, find a small object like a credit card to push it flat.
To put the pebble in a wristband, hold the pebble in your hand with the grey arrow facing up. Insert this end into the wristband, with the arrow pointing toward the holes in the wristband.
For instructions on how to put on your wristband, please see How do I wear my tracker?
If your tracker has one of the following problems, it may be fixed by a restart:
- Your tracker isn't syncing
- Your tracker isn't responding to button presses, taps, or swipes
- Your tracker is charged but doesn't turn on
- Your tracker isn't tracking your steps or other stats
Note: Restarting your tracker turns it off and on without deleting any activity data. If your tracker saves notifications, a restart deletes them.
These steps explain how to restart an original Flex.
- Plug your charging cable into aUSB port on your computer or any UL-certified USB wall charger.
- Remove the pebble from the wristband and insert it into the charging cable.
- Insert a paperclip into the small pinhole on the back of the charger.
- Press on the pinhole for 3-4 seconds.
- Take your tracker out of the charger and insert it back into the wristband.
If your tracker still doesn't work after a restart, contact Customer Support.
If your battery isn't charging, test the solutions below. If your battery is draining too quickly after a charge, see Can I improve my tracker's battery life?
| Problem | Solution |
|---|---|
| The contacts on the tracker or charging cable are dirty. | Dust and debris can accumulate over time and prevent a charge. Clean the charging contacts using the instructions in How do I clean my tracker? |
| The USB port or outlet is faulty. | If you haven't done so, try a different port. A UL-certified wall charger will also work. Don't use a USB hub. |
| The tracker isn’t connected securely to the charging cable. | Check the alignment and try reconnecting your tracker to the charging cable. For illustrations and tips on how to know if the connection is secure, see How do I charge my tracker? |
| The tracker is malfunctioning. | When in doubt, it doesn't hurt to turn your tracker off and back on. For instructions see How do I restart my tracker? |
If you've tried all four solutions but your tracker won't charge, contact Customer Support.
If your tracker suffers damage while under warranty, please contact Customer Support. Discounts and replacements depend on tracker model and other factors.
If your tracker got wet, please see I washed my tracker below.
If your tracker isn't working after being submerged in water but no damage is visible, try these steps:
- Put your tracker into a bowl of dry rice for 24 hours. This will extract any moisture that remains inside the device.
- After your tracker has been in rice for 24 hours, restart it using the instructions in How do I restart my tracker?
- If your tracker doesn't work after the restart, contact Customer Support.
If you have a wrist-based tracker and can see condensation inside the screen, dry rice may work temporarily but the problem is likely to reoccur. In most cases water damaged trackers aren't covered under warranty but it depends on the model. Contact Customer Support if you're unsure.
This section explains how to test your original Flex, shown below.
First, look under Silent Alarms in the Fitbit app to see if an alarm is set.
If an alarm is set, next test your tracker's vibration motor:
- Rapidly tap just below the row of lights. You should feel the tracker vibrate as it enters manual sleep mode.
- To get out of sleep mode, rapidly tap the tracker again.
If your alarm or vibration motor is not working, contact Customer Support.
Your Fitbit tracker's settings can record your sleep in either "sensitive" mode for extremely detailed sleep reporting or "normal" mode for a more basic idea of your sleep patterns.
- The normal setting counts significant movements as being awake (such as rolling over) and is appropriate for most users.
- The sensitive setting will cause your tracker to record nearly all movements as time spent restless or awake. This setting may be helpful for users who wake up feeling tired even though their sleep history shows sufficient rest.
If your Fitbit tracker is worn consistently each night with the same setting, the data that it produces should be useful. To change your setting in the Fitbit app for iOS or Windows 10, go to Account > Advanced Settings > Sleep Sensitivity. To change your setting in the fitbit.com dashboard, go to Settings > Devices> scroll down to Sleep Tracking.
- During sleep mode, when your body is completely at rest and not moving, your Fitbit tracker records that you are asleep.
- A restless state of sleep indicates that you moved from a very restful position into one involving greater movement, such as turning over in bed. This doesn't necessarily mean that you were fully awake or cognizant of your movements, but it may indicate that you were not getting the most restful sleep possible at that time.
- When your tracker indicates that you are moving so much that restful sleep would not be possible, your sleep graph will indicate that you were awake.
Please watch the video below which will guide you through this easy process.
To explore the compatibility of your device, please click here. On this page, you will be able to select your device type & view all of the available features within the Fitbit app.
Questions & answers
How-to videos
-
How To Sync with Windows Devices
-
How To Automatically Record Exercises with SmartTrack
-
How To Set Up A Tracker On A Mobile Device
-
How To Sync and Get Notifications with iOS Devices
-
How To Sync and Get Notifications with Android Devices
-
How To Set Up A Tracker On A Computer
Returns policy
If you need advice or support for your product, please in the first instance contact the support provider using the number on this support page.
If you still need to return your product then please visit our most up to date returns policy here.


