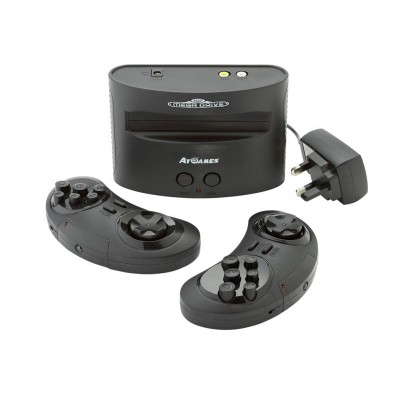
SEGA MEGADRIVE WITH 80 GAMES
381/6789
Product details
- Brand: Sega
- Catalogue number: 381/6789
- Manufacturer's number: FB8200R80M
Sega Support
 UK:
UK:
 Eire:
Eire:
Email me this page
Enter your email address to have this page emailed to you *
Useful links
Online supportFAQs
These ports are for the wired controllers (optional) . These ports are also compatible with the original SEGA console wired controllers.
(Wired controllers are not included in this product.)
For 1-Player Games: Connect a wired controller to the left controller port.
For 2-Player Games: Connect a wired controller to the left controller port for player one,and connect another wired controller to the right controller port for player two.
1. Press the POWER button to turn on the game console. Press the POWER button again if you like to turn off the game console.
2. Use the player 1 (P1) wireless controller or use the wired controller that is connected to the left controller port to browse menu and select game.
3. Press START on the P1 controller to begin the game.
1. Follow the steps in section “How do I start playing”.
2. Press Up or Down on the D-Pad of the first player game controller to select a
3. Press the START key of the first player game controller to start playing the game.NOTE:
Console may not be compatible with all Genesis/ Mega Drive cartridges.
1. The batteries may have run out. Change the batteries following the"Change the Batteries for the Controllers" section in your manual.
2. You might be using the P2 controller in P1 games. Try the P1 controller.
3. You might be out of range. Check if there are any obstacles blocking you from the console.
1. Remove the battery compartment cover using a screwdriver.
2. Open the battery compartment cover by pushing the clip in the direction indicated by arrow.
3. Insert two new “AAA” batteries with the correct polarity as indicated inside the battery compartment.
4. Place back the battery compartment cover.
5. When the Power Indicator stops blinking, it’s time for an adult to change the batteries
Press keys on the wireless controllers to observe Power Indicator light blinks.Orient the wireless controllers’ Infrared Transmitter at the console’s IR Receiver and they will connect automatically.
Similar products

Returns policy
If you need advice or support for your product, please in the first instance contact the support provider using the number on this support page.
If you still need to return your product then please visit our most up to date returns policy here.