As the summer sun finally warms the nation, keeping our homes cool becomes a top priority. Domestic air conditioning units have become a popular solution to stay comfortable, but you can make them more effective by using a window ventilation kit. In this article, we’ll look at why you need to use a ventilation exhaust kit for your air conditioning unit, and how to connect it.
But first, why?
These kits allow you to effectively remove hot air from your living spaces, ensuring your air conditioner operates at its peak performance. Without a dedicated exhaust kit, the warm air will go back into the room you are trying to remove it from which means you will not get the results you desire.
Step 1: Fixing to the back of the unit
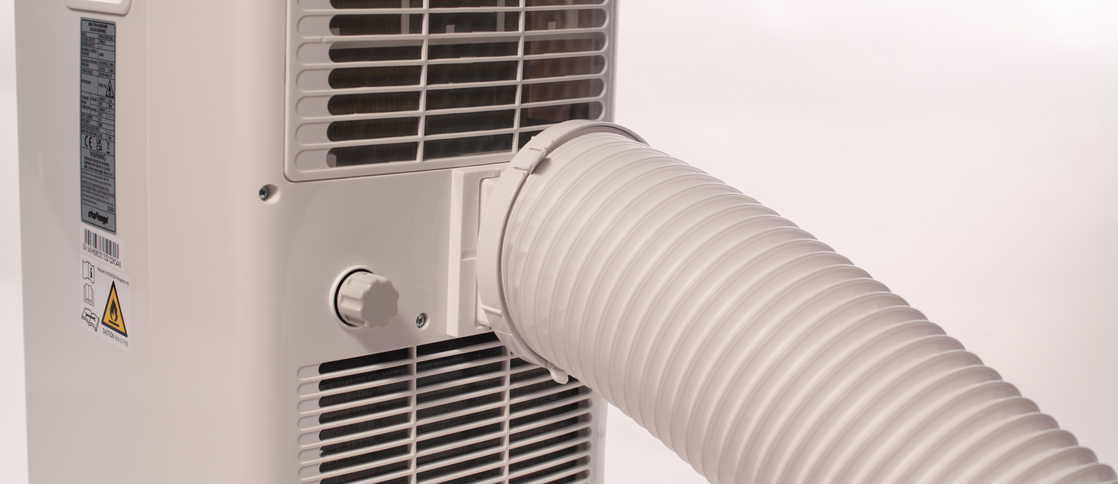
The first step in the process involves attaching the ventilation kit to the back of your air conditioning unit. This kit typically consists of a flexible hose, an adjustable window bracket, and various connectors. Start by locating the exhaust port on the back of your air conditioner – this is where the hot air generated by the unit is expelled. Gently but firmly attach one end of the flexible hose to this exhaust port, ensuring a secure fit to prevent any air leaks.
Modern air conditioning units often come with quick-connect fittings, making the installation process smoother. Simply follow the manufacturer's instructions to securely fasten the hose to the unit. Once the hose is attached, make sure it is well-aligned and free of kinks to ensure smooth airflow.
Step 2: Fitting the kit to the window
With the hose fitted to the back of your air conditioner, it's time to set up the window bracket. This bracket serves as the bridge between the interior and exterior of your home, allowing the hot air to escape. Position the bracket on the inside of the window frame, ensuring it's levelled and stable. Most brackets are adjustable to fit different window sizes, so make the necessary adjustments to secure. They don’t always come with air conditioning units, so research your product to check if you need to purchase this separately.
Attach the window bracket firmly to the window frame using screws or other fastening mechanisms provided in the kit. It's important to ensure a tight seal to prevent drafts or outdoor air from entering your home. Some kits also include weather seals to improve insulation around the window and maximise efficiency. Many kits will also include wall attachments kits to make ti easier to fit.
Step 3: Feeding the pipe out of the window
Now that the window bracket is securely in place, gently feed the other end of the flexible hose through the bracket and out of the window. Carefully close the window on top of the hose to maintain the seal. You might need to adjust the window to ensure a proper fit – a secure seal will prevent warm air from infiltrating your cool interior.
If the hose is longer than required, avoid excessive coiling as it could hinder airflow. Instead, try to keep the hose as straight as possible to maintain optimal ventilation efficiency. If you need to extend the hose, check if your kit offers extension options or consider consulting the manufacturer for suitable solutions.
Conclusion
By fitting a window ventilation kit, you can be confident that your air conditioning unit will be performing effectively. If in doubt, refer to your user manual or contact the relevant support team for further assistance.
You can read more about air conditioners below: