Decorating your Christmas tree is an exciting activity for all. It is a tradition many find brings in the Christmas season. However, it can also be a hectic few hours trying to get everything perfect. Luckily, this can be avoided by following an organised plan which we have outlined in this article.
#1. Get prepared.
First and foremost, gather all your decorating supplies before you begin. This means pulling out all of the decorations, the tree, and any miscellaneous bits you feel will help. This allows you to do all the decorating in one go, rather than stop half way through to find the missing baubles!

#2. Plan your vision.
Whether you’re going for a specific colour scheme like blue and silver, or pink and gold, or a specific decorative theme such as animals or under the sea, it is good to have this set out before you decorate. This makes things easier to organise, and means you can spend your time decorating on making your Christmas tree vision come to life.

#3: Position the tree skirt.
If you are using a tree skirt to upgrade your Christmas tree, it’s important to have this ready in position before assembling the tree. This means you have to assemble the tree with the skirt in mine. Once the tree is assembled, it can be difficult to add a skirt.

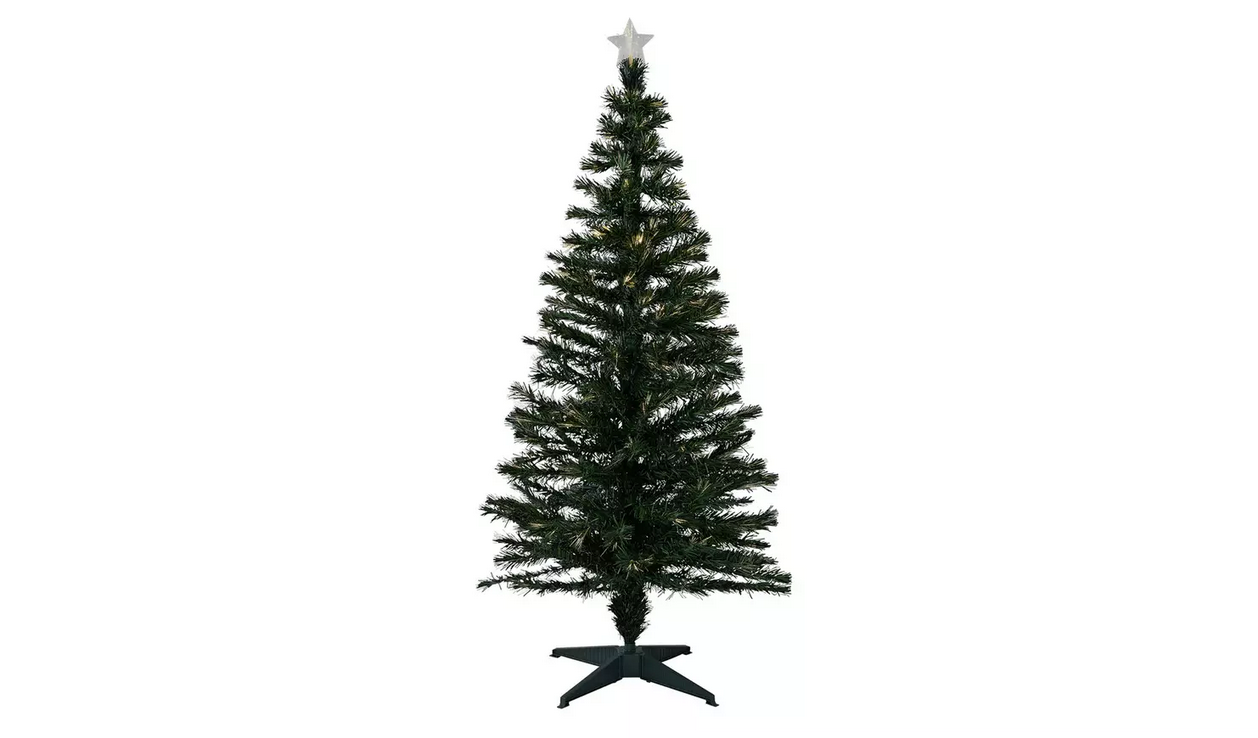
#4: Assemble the tree.
If you’re using a faux tree, then assembly can sometimes be a frustrating task. Ensure you have an extra pair of hands, or a few pairs, to get it upright. Fluff up the branches in each section making them full and perfect for hanging your decorations on. If you’re using a natural tree, ensure it is placed in the best position and is securely upright. Use additional support if needed, such as a sturdy object that it can lean on.
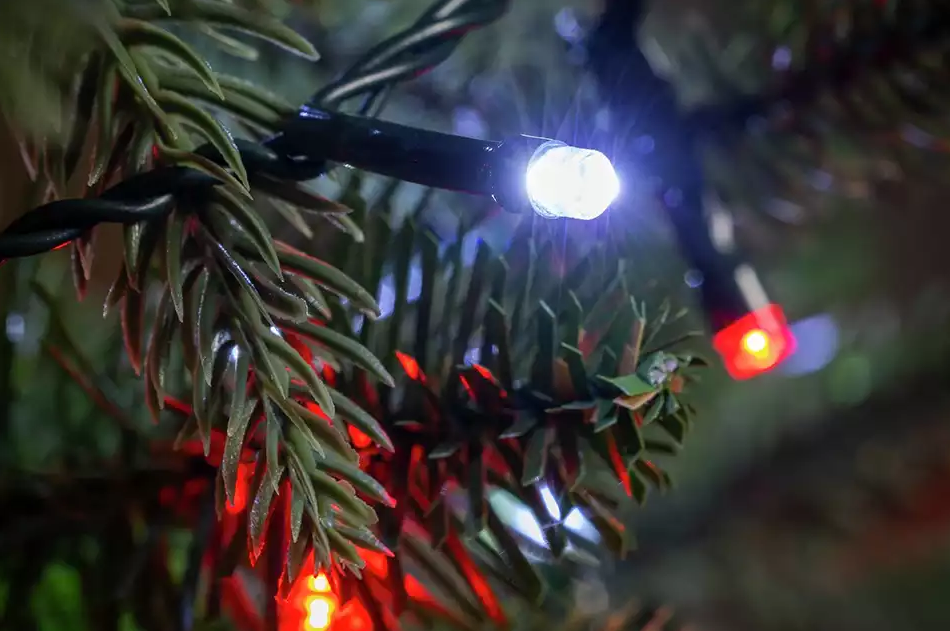
#5: Test the lights are working.
Before you think about stringing the lights, test they are working. The last thing you want to do is to string all your lights around the tree to find they’re not working. Simply plug then on and see if they all light up. If they don’t or a bulb isn’t lighting, check your user manual to see if you are able to replace the bulb to get the lights up and running.
#6. String the lights around the tree.
If the lights are in check, it’s time to string them around the tree. To keep them secure, start at the top and work down as you go around the tree. Weave the lights through the branches to keep them attached to the tree, but also to ensure the lights are evenly distributed when turned on. Alternatively, a nifty tip to make taking the decorations down easier is to string the lights vertically on the tree, so up and down going around the tree. When it’s time to pack things away, the lights will come off easier with less risk of tangling. Once wrapped around, turn the lights on to check for full coverage, and if not, make any amendments before moving to the next step.
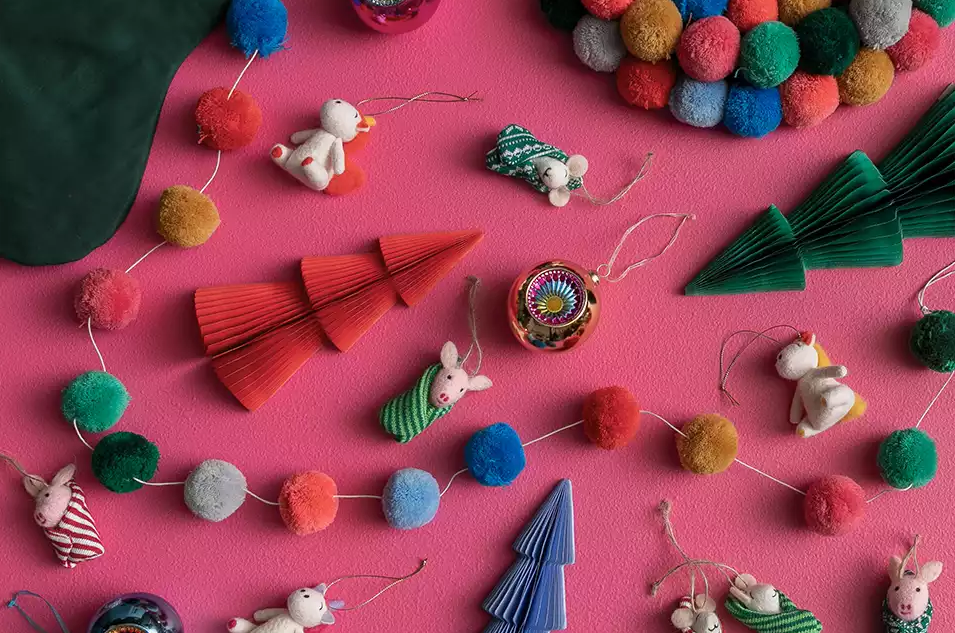
#7. Wrap the tinsel.
If you want to go all out, you may want full sparkle with tinsel. Hang this around the tree to get a similarly even coverage as the lights. Don’t overfill with the tinsel as you will still need room for the rest of the ornaments. If you’re not one for the glitz of tinsel, then not to worry, you can make a statement with garlands or other hanging décor.
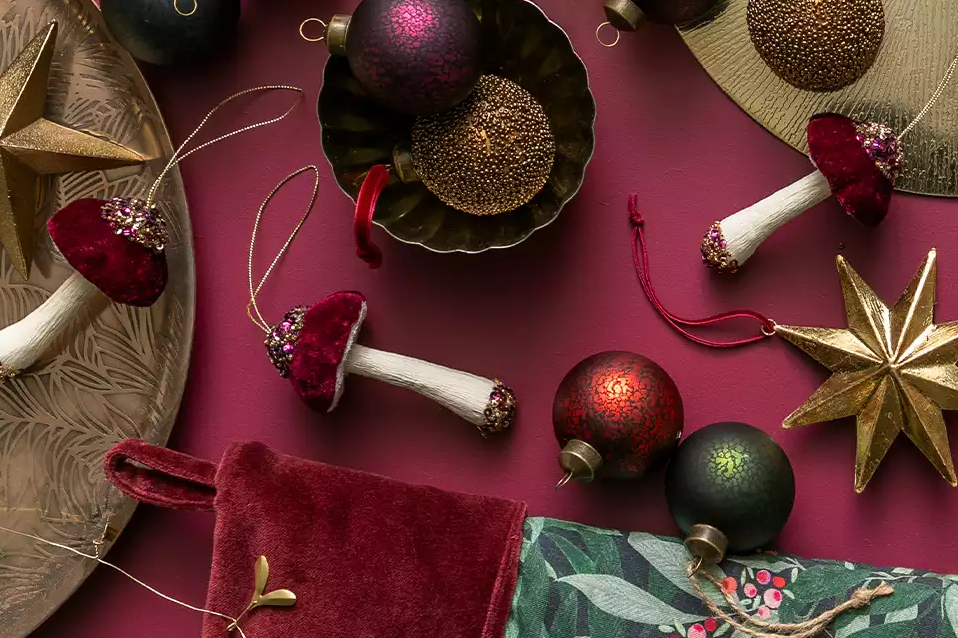
#8. Take care by adding ornaments by section.
Now, for the ornaments. We recommend categorising all your ornaments into sections. For example, all big blue baubles in one pile, all small silver stars in another. This means you can add all of one kind of ornament to the tree at once, ensuring that each section of the tree has one of those ornaments. Otherwise, you may risk placing all the blue baubles at the top of the tree, and all the stars at the bottom which may not be the aesthetic you are going for.
#9. Fill in any empty spaces.
Take a step back and check for any bare areas of the tree. It is easy to miss spots when decorating, so ensure that any large empty spaces are filled with beautiful ornaments, or perhaps hang a garland to cover the spot.
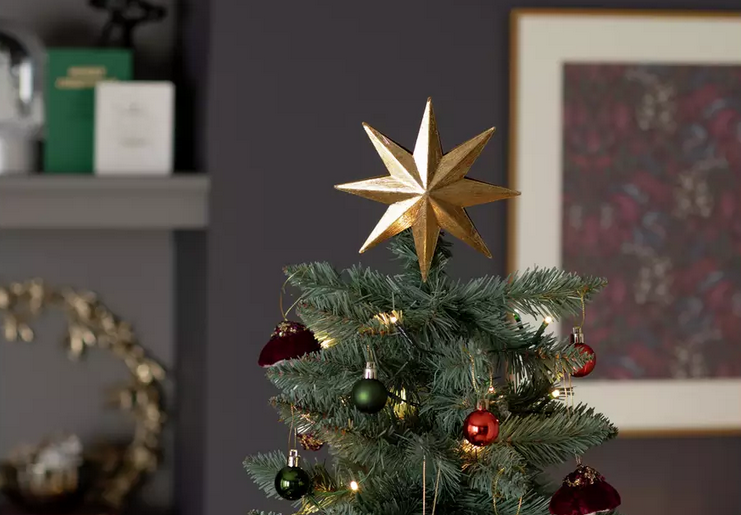
#10. Add the finishing touch with a tree topper.
Once the tree is ready, it’s time to add your tree topper. You may be choosing a star, or a traditional angel, but remember it can be a central piece to your tree. If you’re not quite tall enough to reach the top, we recommend having an additional pair of hands to help reach and then position securely so it doesn’t topple.
When your Christmas tree is up, you can let the festivities begin.
You can check out our Christmas decorating ideas here.